Gap Filling
Gap Filling for Wooden Floors: Enhancing Stability & Aesthetics
Natural timber is a hygroscopic material, meaning it constantly breathes—absorbing and releasing moisture as indoor humidity and temperatures change
During warm, humid months, floorboards absorb ambient moisture and swell. In the winter, dry central heating pulls that moisture out, causing the timber to shrink across its width. Over decades of these continuous movement cycles—combined with building settlement, joist deflection, and foot traffic—noticeable gaps inevitably form between adjacent boards and parquet blocks.
Unsealed floorboard gaps lead to several common household issues:
Cold subfloor drafts entering from ventilated crawl spaces.
Accelerated heat loss, forcing central heating systems to work harder.
Debris traps that collect pet hair, dust mites, and dirt where household vacuums cannot reach.
Board movement and friction, leading to squeaks, creaks, and rocking underfoot.
As an essential stage of comprehensive wood floor restoration, professional gap filling eliminates these voids, restores floorboard stability, and creates a seamless, draft-free surface. At floorsanding.london, we combine traditional timber joinery with modern bonding resins to deliver durable, color-matched solutions for homes and commercial spaces across London.
Why Do Floorboards Separate?
Understanding the cause of the gap determines the right repair method.
In Victorian, Edwardian, and Georgian properties, pine floorboards were originally installed as utilitarian subfloors over ventilated ground voids. When these boards shrink:
They pull apart laterally: Because wood expands and contracts significantly across its width rather than its length, gaps open along the long parallel edges.
They lose edge support: Adjacent boards stop supporting each other against foot traffic, causing individual planks to flex and bend.
Improper DIY fillers fail: Hardware-store silicones, acrylic decorators’ caulk, or rigid paste fillers cannot withstand this natural movement. Under normal foot traffic and seasonal shifting, brittle fillers crack, loosen, and fall through into the subfloor void.
The Two Core Gap Filling Methods
To achieve a long-lasting, invisible repair, technicians use two distinct techniques based on the width of the gap, the timber species, and how the floor is constructed.
Method 1: Reclaimed Timber Slivers (For Gaps Wider Than 6 mm)
-
Method 1: Reclaimed Timber Slivers (For Gaps Wider Than 3 mm)
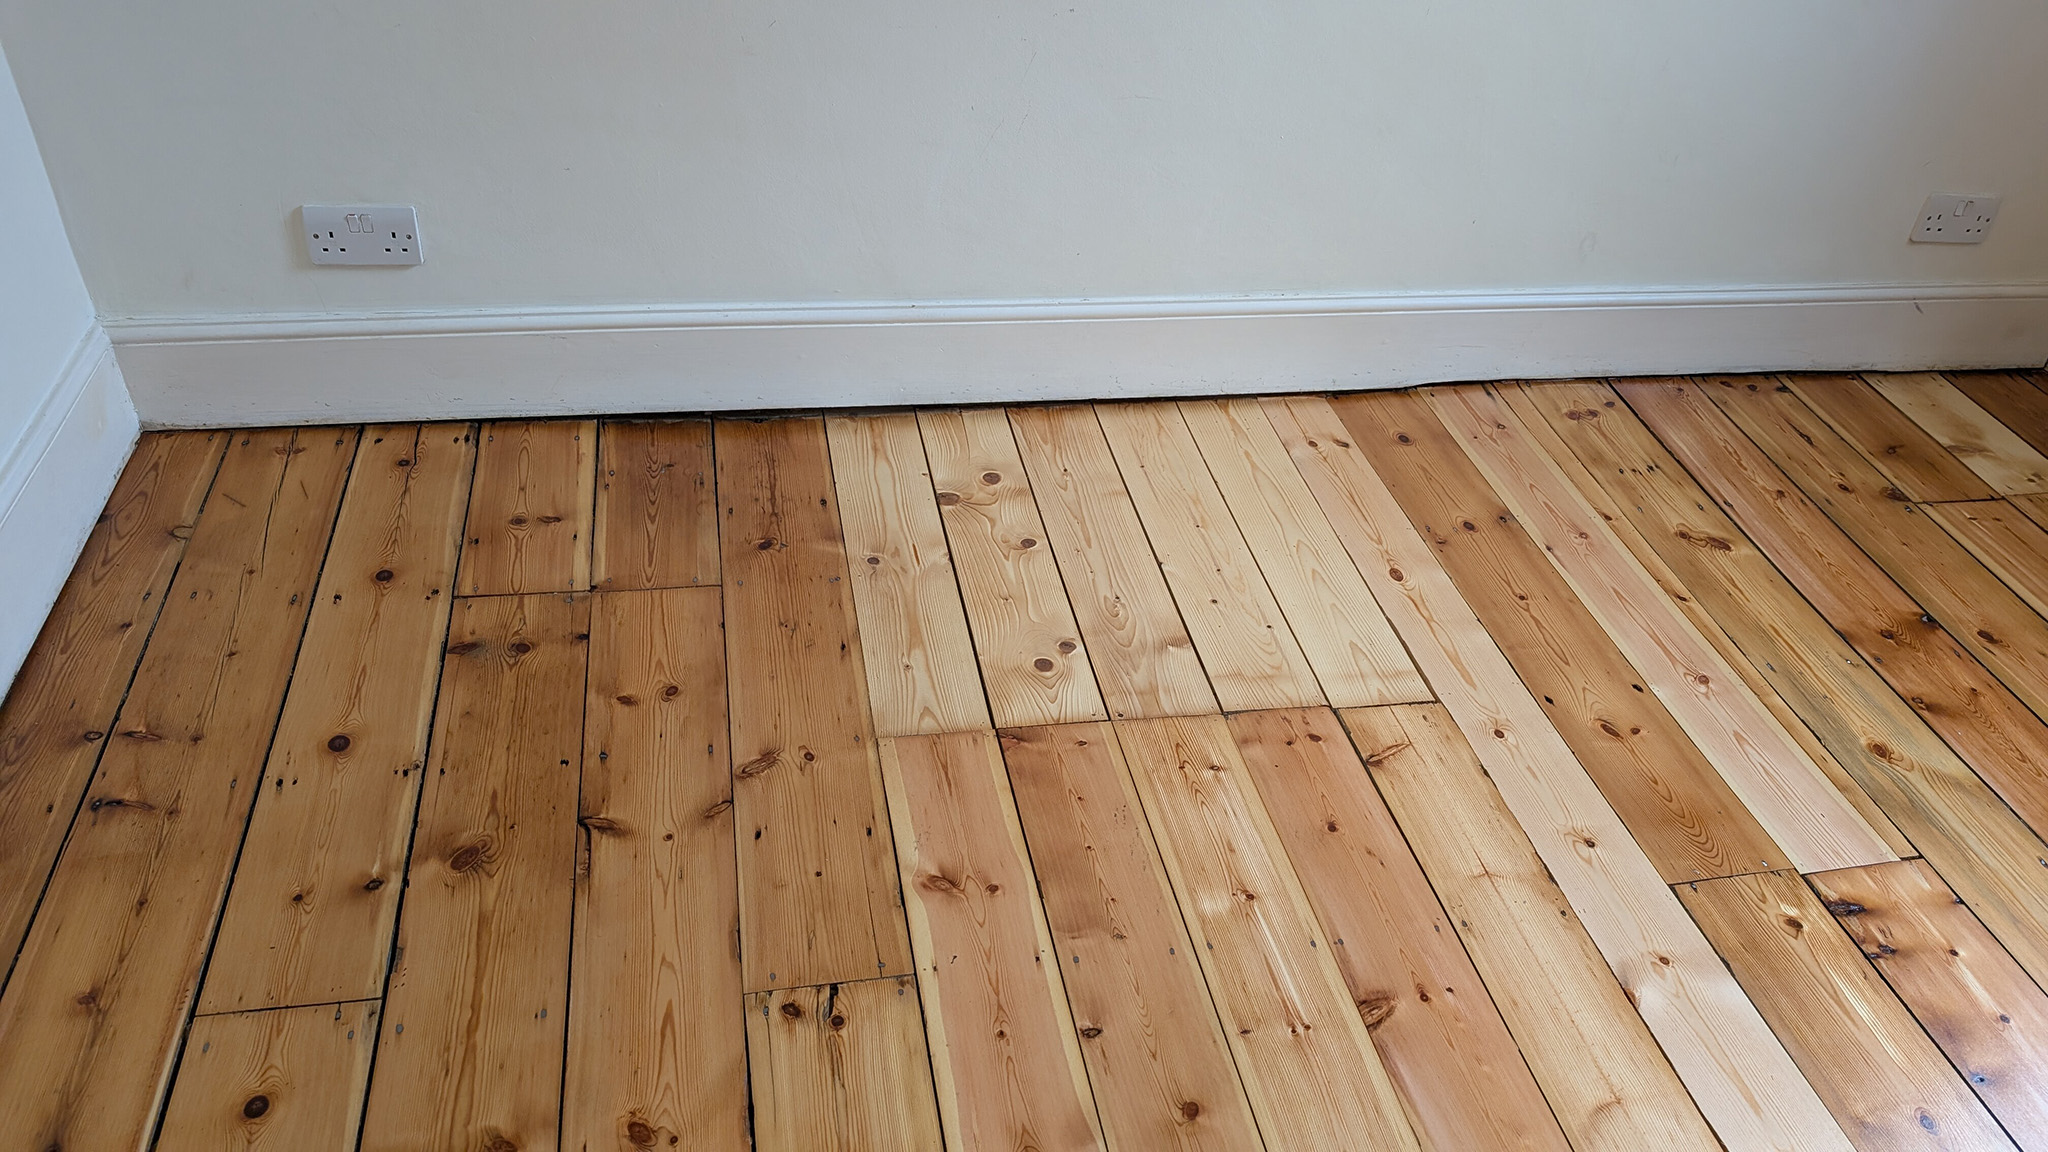
For gaps wider than 6 millimeters—especially on original pine floorboards—paste or resin fillers are not strong enough. Over time, structural deflection causes paste in wide joints to break apart and drop into the subfloor.
The authentic trade solution is the mechanical insertion of solid wood slivers, a specialized joinery technique featured throughout our floorboards restoration services.
How It Works, Step-by-Step:
Selecting Aged Timber: We source antique, reclaimed pine from period properties. This reclaimed timber matches the grain density, cellular dryness, and aged color tone of your existing floorboards.
Cutting Wedge Profiles: Strips of timber are machined into tapered, wedge-shaped profiles. The taper allows the sliver to drop deeply into the gap, wedging tightly between the shoulders of the adjacent planks.
Applying Flexible Adhesive: Both sides of the sliver are coated with high-grab, flexible wood adhesive designed to move naturally with seasonal timber expansion.
Driving Slivers into Place: Technicians tap each sliver firmly into the void with a mallet along the entire length of the board run, ensuring complete friction contact.
Curing Under Tension: The adhesive cures fully while locked under pressure between the boards.
Hand-Planing Flush: Once cured, the excess wood sticking up above the floor is planed down by hand using block planes, leaving the repair flush and smooth with the floor.
Key Benefits of Timber Slivers:
Natural Grain Alignment: Because the sliver is real wood running in the same direction as the floor, it expands and contracts at the exact same rate as the floorboards.
Long-Term Draft Seal: Creates a permanent mechanical barrier against cold subfloor air.
Blends with Finishes: Solid wood slivers absorb stains, oils, and lacquers naturally, blending in with the surrounding floor.
-
Method 2: High-Solid Resin & Wood Flour Paste
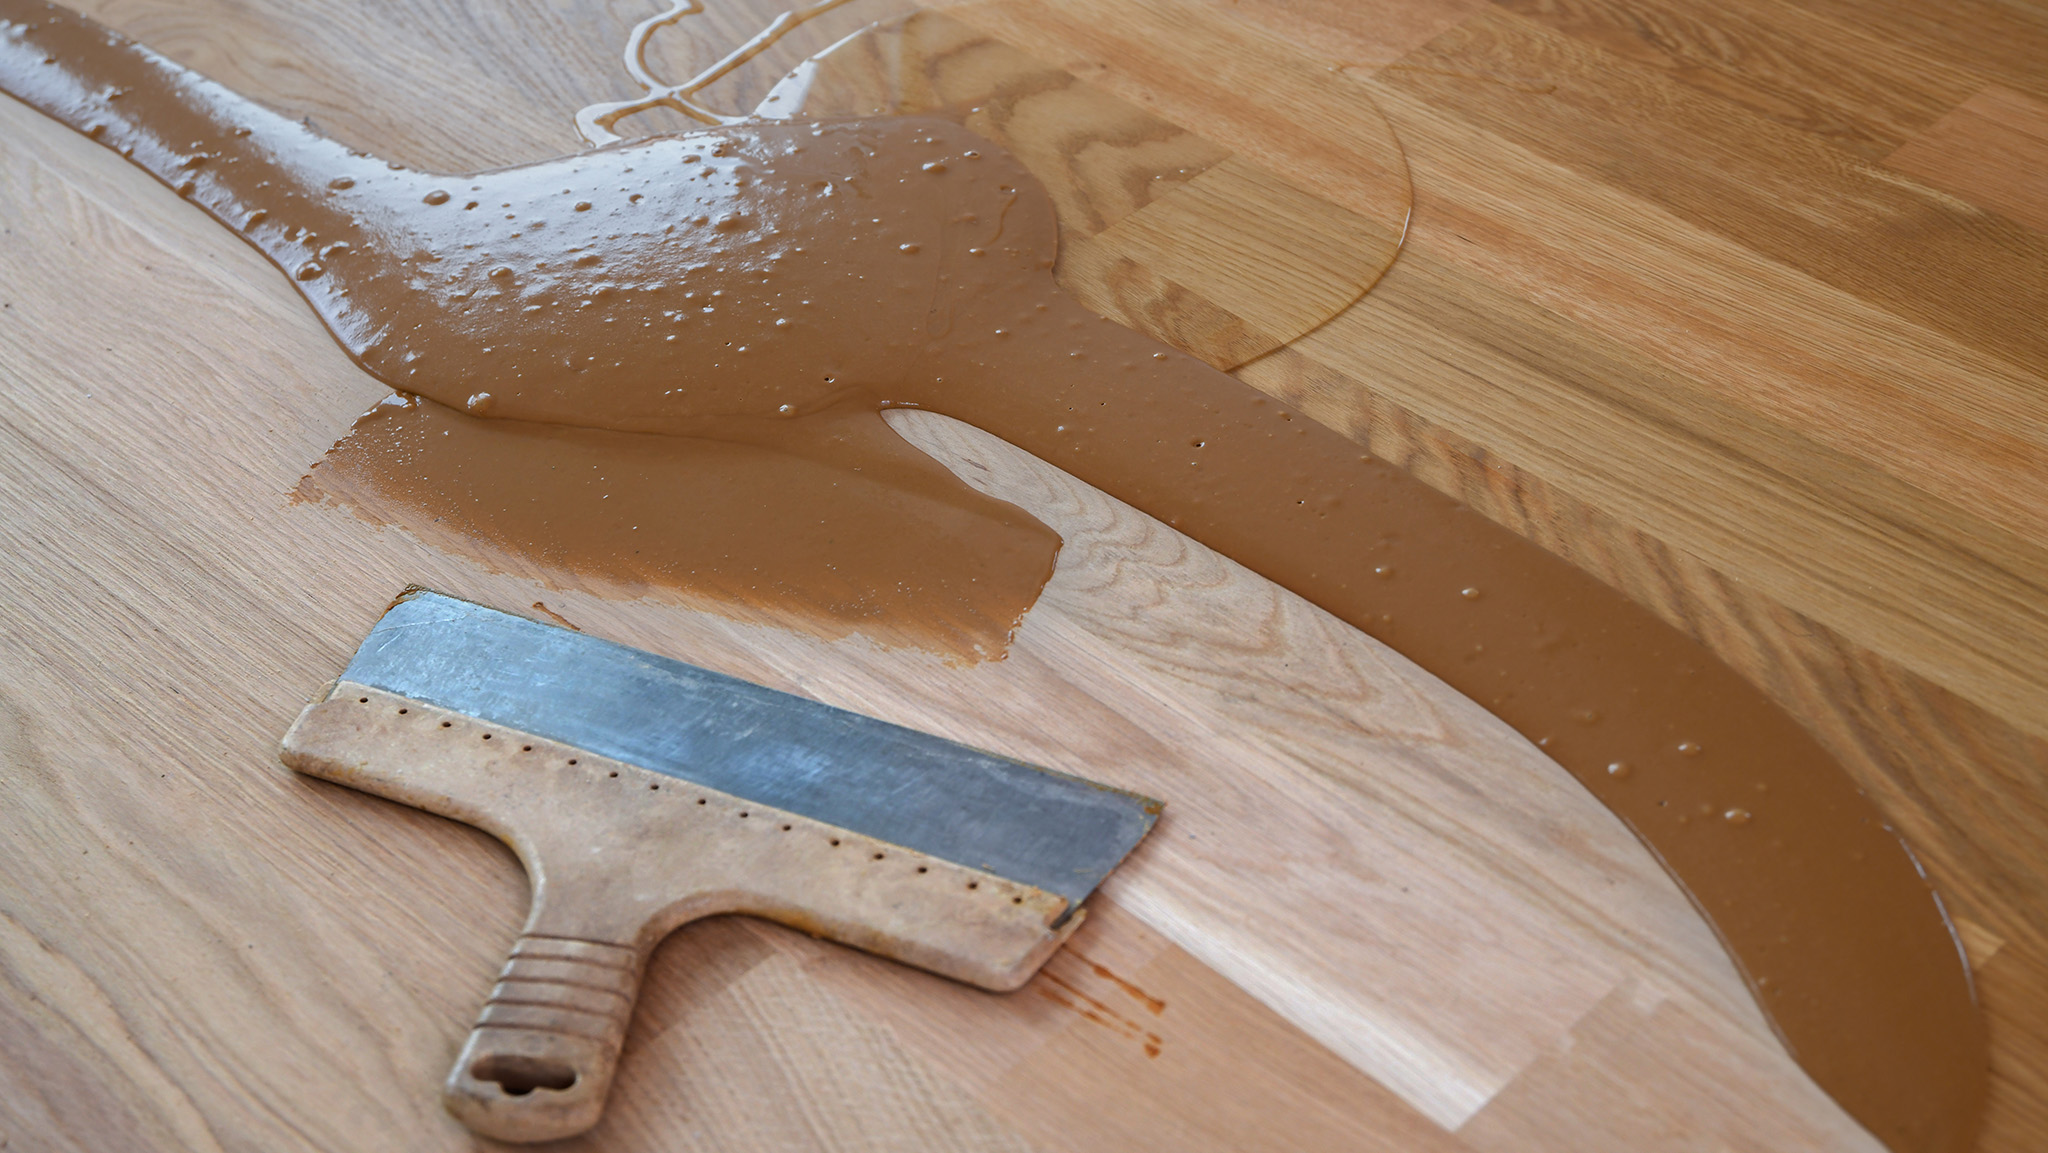
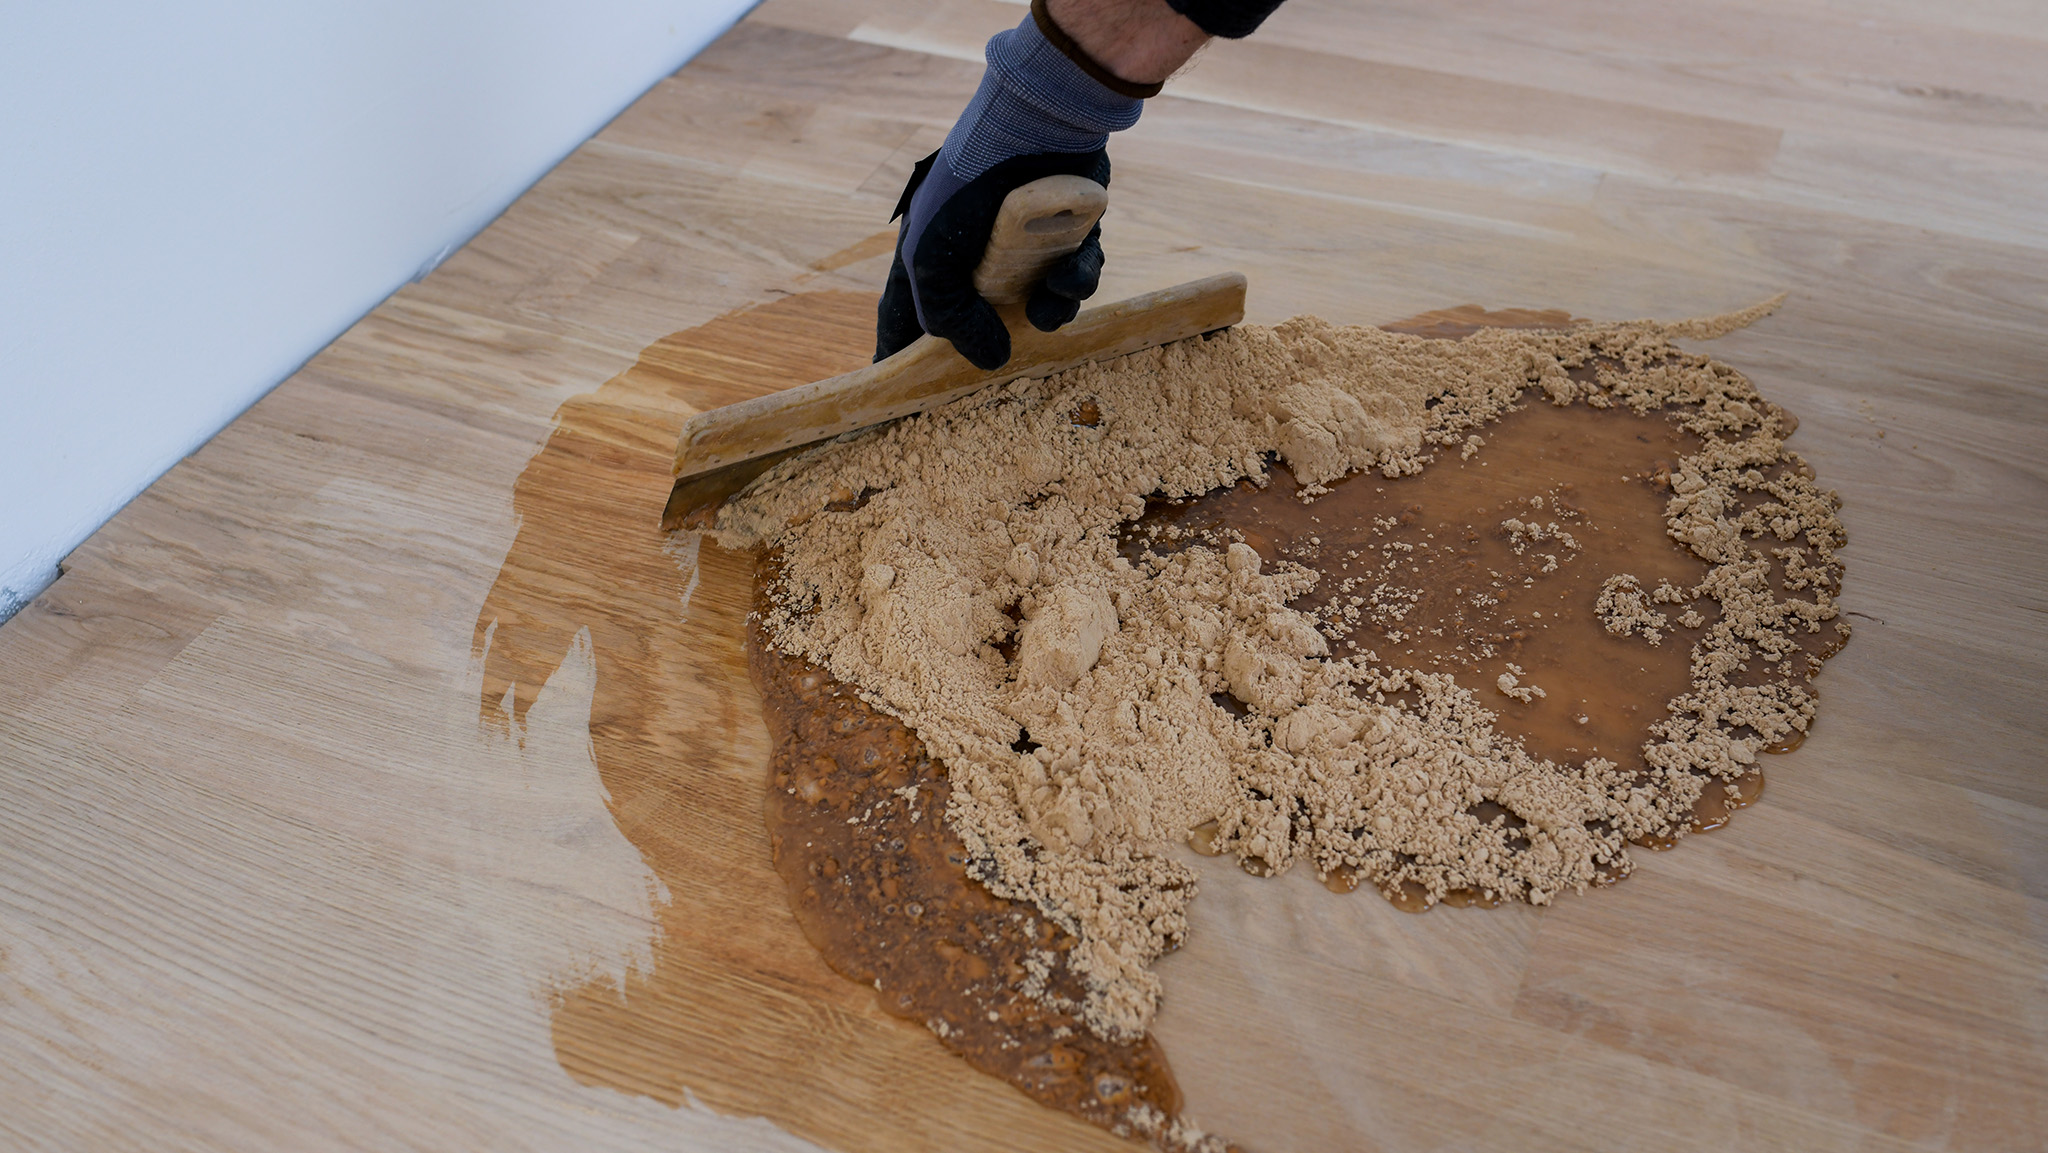
For fine hairline gaps, parquet mosaics, and tight joints between solid hardwood planks, an elastomeric resin-and-dust paste creates a smooth, continuous surface.
How It Works, Step-by-Step:
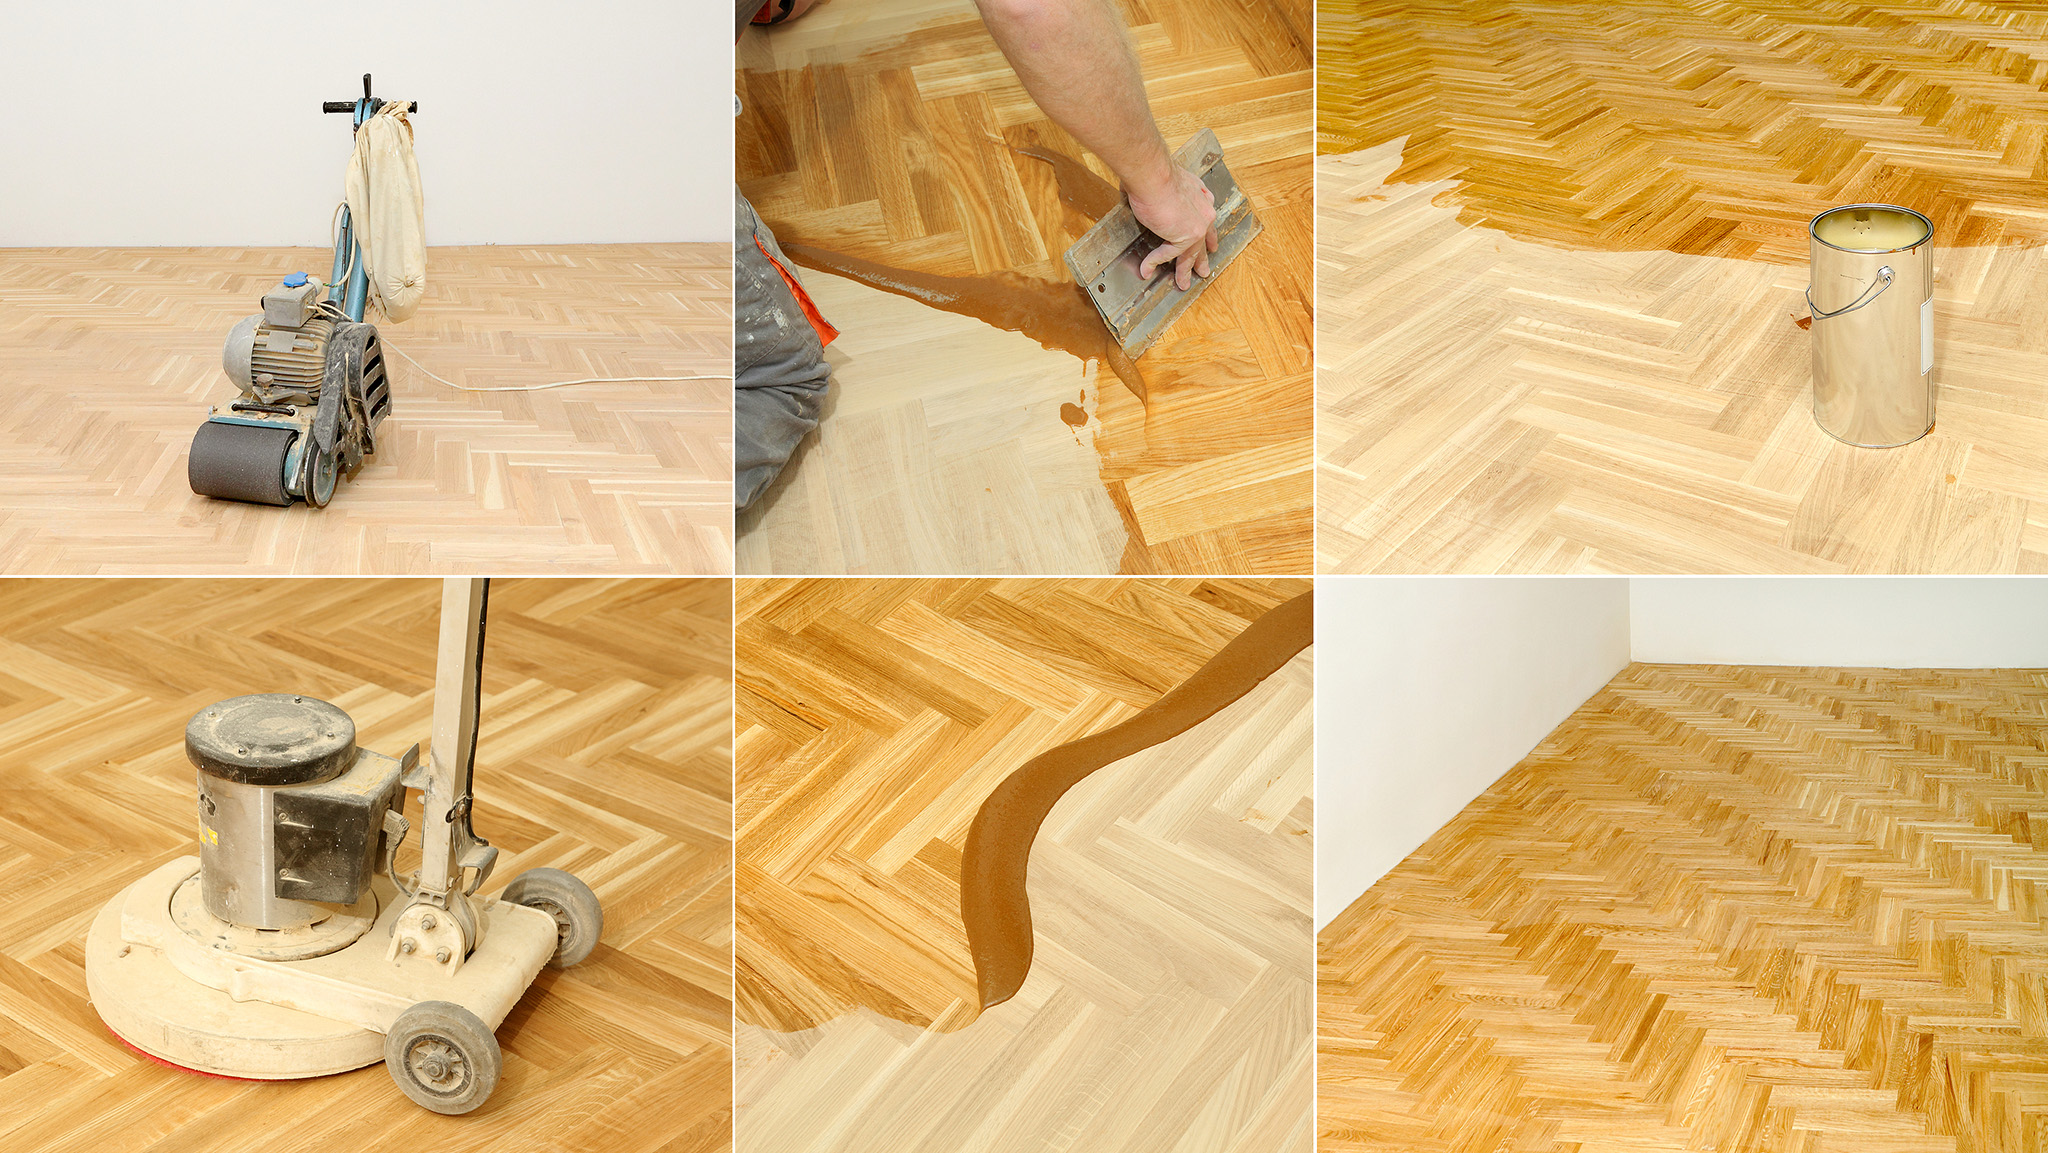
Harvesting Fine Timber Flour: During the intermediate passes of our dust-controlled floor sanding process, fine timber dust is collected directly from the machine's sealed vacuum chamber.
Formulating the Slurry: This clean wood dust is mixed with a fast-curing, elastomeric resin binder to form a workable paste. Because it uses the actual wood dust from your floor, the cured filler matches the tone and character of your floorboards.
Full-Trowel Application: Technicians work the mixture across the floor using flexible stainless-steel trowels, packing the paste deep into joints, hair-line cracks, and micro-fissures.
Rotary Sanding Flush: Once dry, the floor undergoes fine rotary buffing. This shears away any residue from the face of the boards while leaving the filler packed inside the joints.
Key Benefits of Resin Filling:
Color Accuracy: Matches your floor's exact timber species and patina.
Micro-Flexibility: The flexible binder accommodates minor natural board movement without cracking.
Clean Surface: Seals tiny joints in parquet blocks and tongue-and-groove boards, preventing dirt buildup.

Contact Us for a Free Assessment and Consultation

Step-by-Step Restoration and Gap Filling Workflow
Professional gap filling cannot be done as a standalone cosmetic touch-up. It must follow a strict restoration sequence to ensure the repairs stay locked in place:
-
Step 1: Subfloor Inspection & Mechanical Fastening
Before filling can begin, the underlying subfloor must be solid. Any bounce or flex in the boards will break filler bonds, regardless of the material used.
Loose boards are secured down to joists using countersunk screws driven below the surface plane—eliminating the squeaks addressed in our hardwood floor repairs. -
Step 2: Channel Cleaning & Edge Preparation
Decades of compacted dust, carpet fibers, old wax, and debris are cleared from between the boards using custom grooving tools and commercial vacuum suction. Board edges must be cleaned down to bare timber so adhesives and resins can bond directly to the wood fibers.
-
Step 3: Material Installation
Depending on gap measurements across the room, technicians drive reclaimed pine slivers into wider openings or trowel the wood-flour resin slurry across tight joints. Where floors show both wide separation and fine surface checks, both techniques are applied across their respective areas.
-
Step 4: Planing & Progressive Sanding
Protruding sliver heads are hand-planed level with the boards. The entire floor then moves through progressive sanding grits on multi-disc planetary machines, blending the filled joints flat against the surrounding wood.
-
Step 5: Sealing, Staining, & Protective Coating
Once smooth, the floor is ready for sealing. Because real timber slivers and wood-flour pastes behave like natural wood, they accept lightfast stains, protective hardwax oils, and waterborne lacquers evenly, locking the joints against everyday spills and dirt.
Gap Filling by Flooring Type
Different timber cuts and laying patterns require specific adjustments to the gap-filling process:
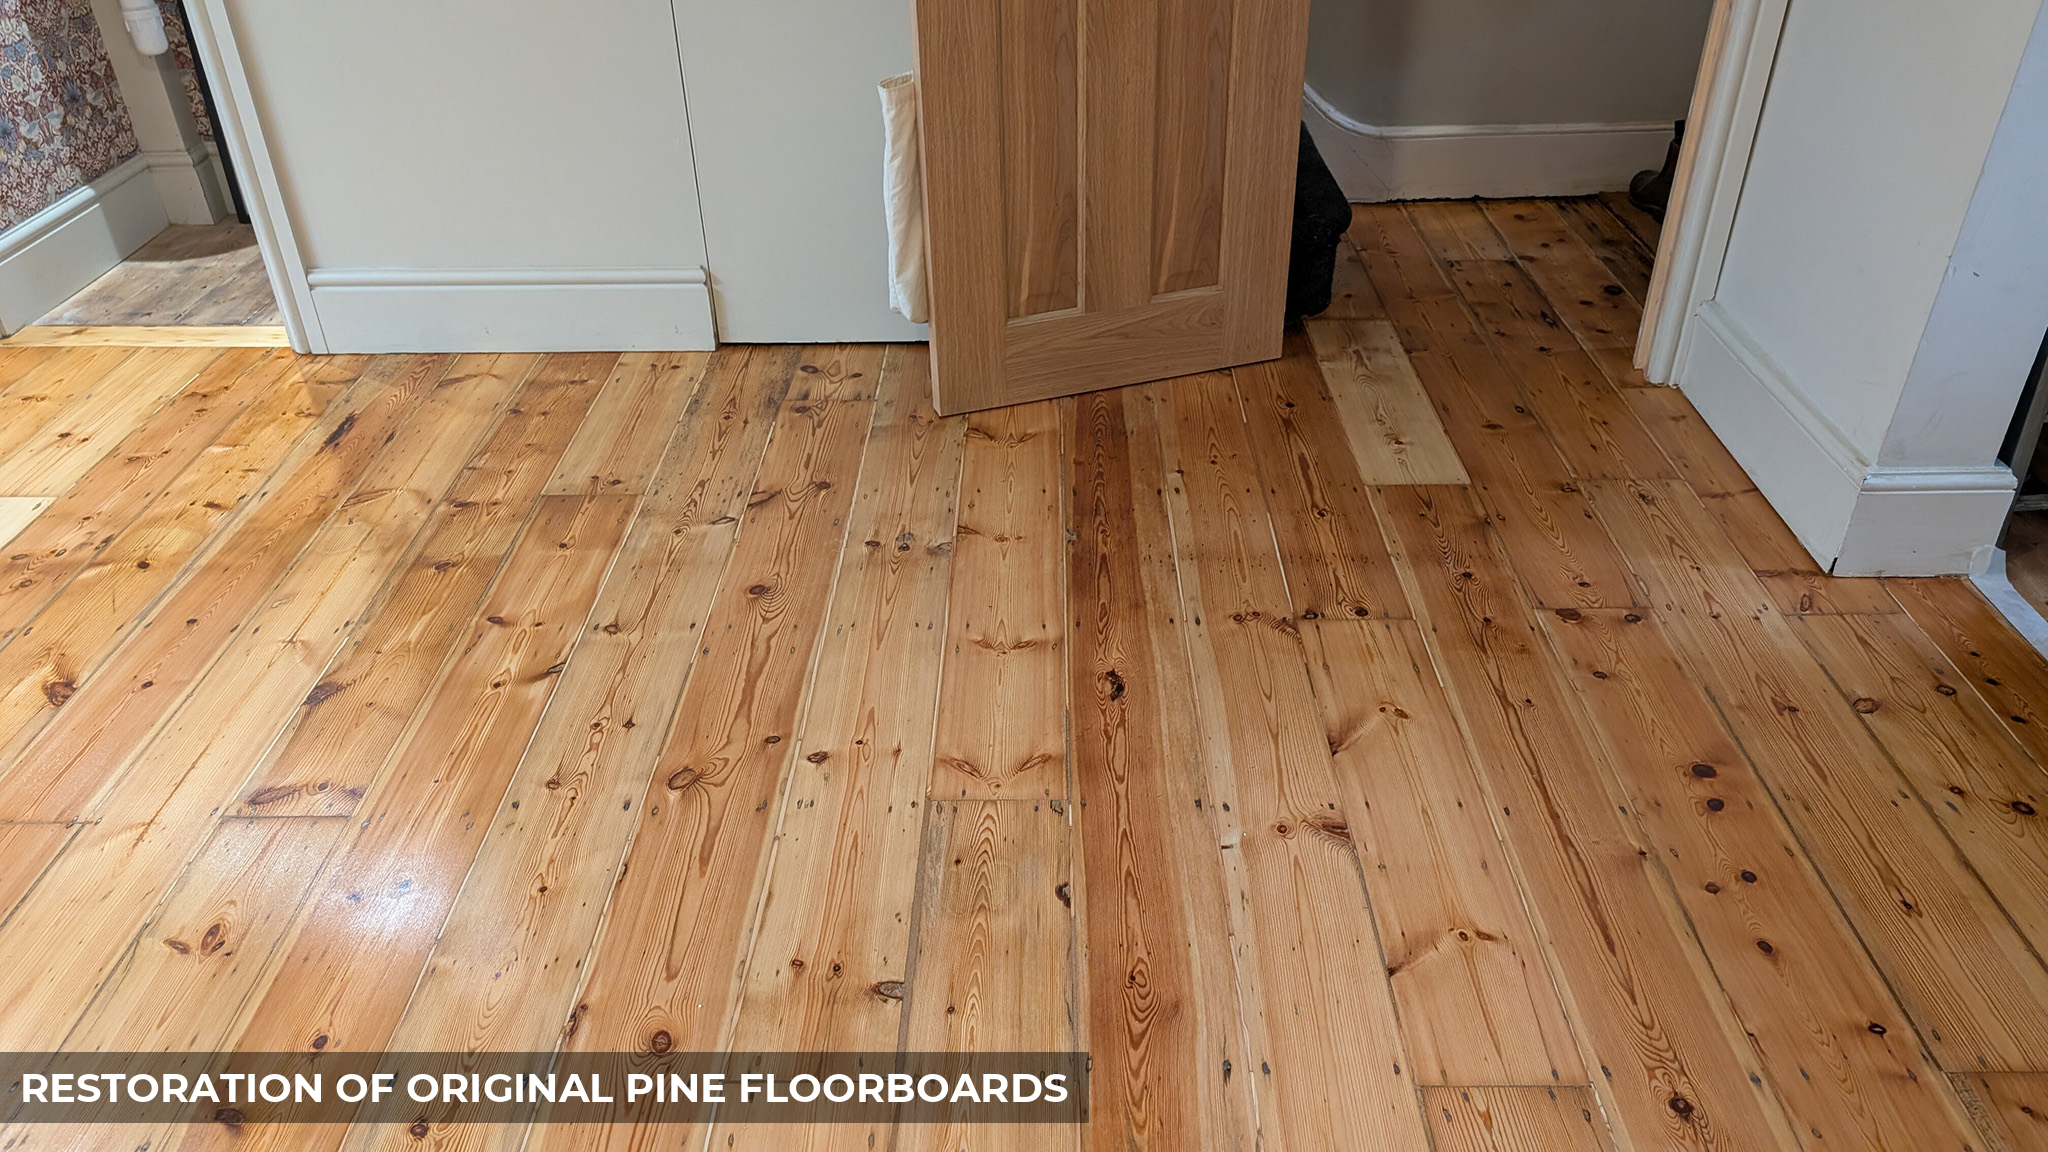
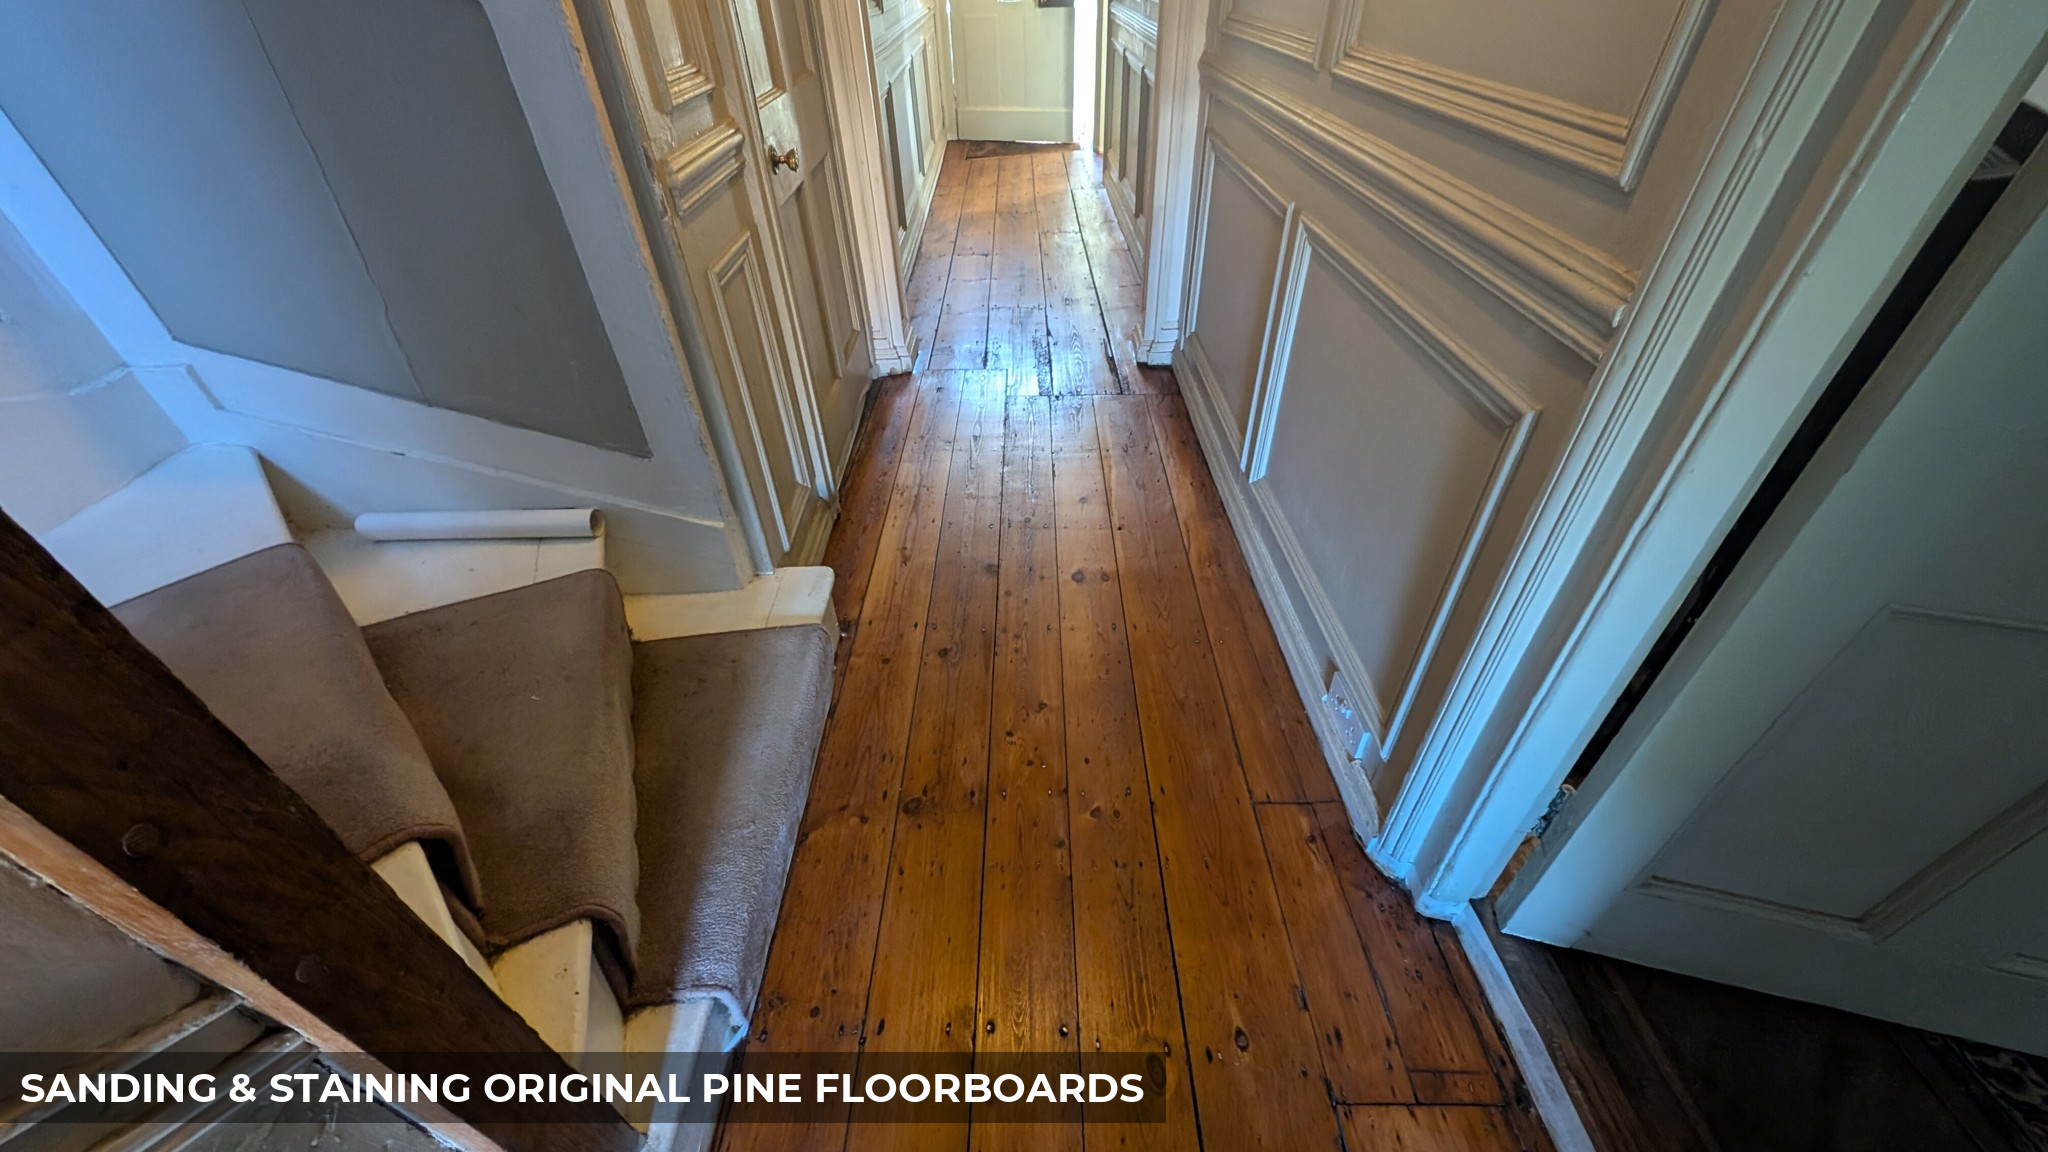
Victorian & Edwardian Pine Floorboards
-
Characteristics
Softwood boards laid over ventilated floor joists; subject to substantial seasonal shrinkage.
-
Best Method
Reclaimed Pine Slivers. Resin alone in pine floorboard gaps wider than 6 mm will crack under foot traffic. Slivers create a solid, durable seal that flexes with the timber.
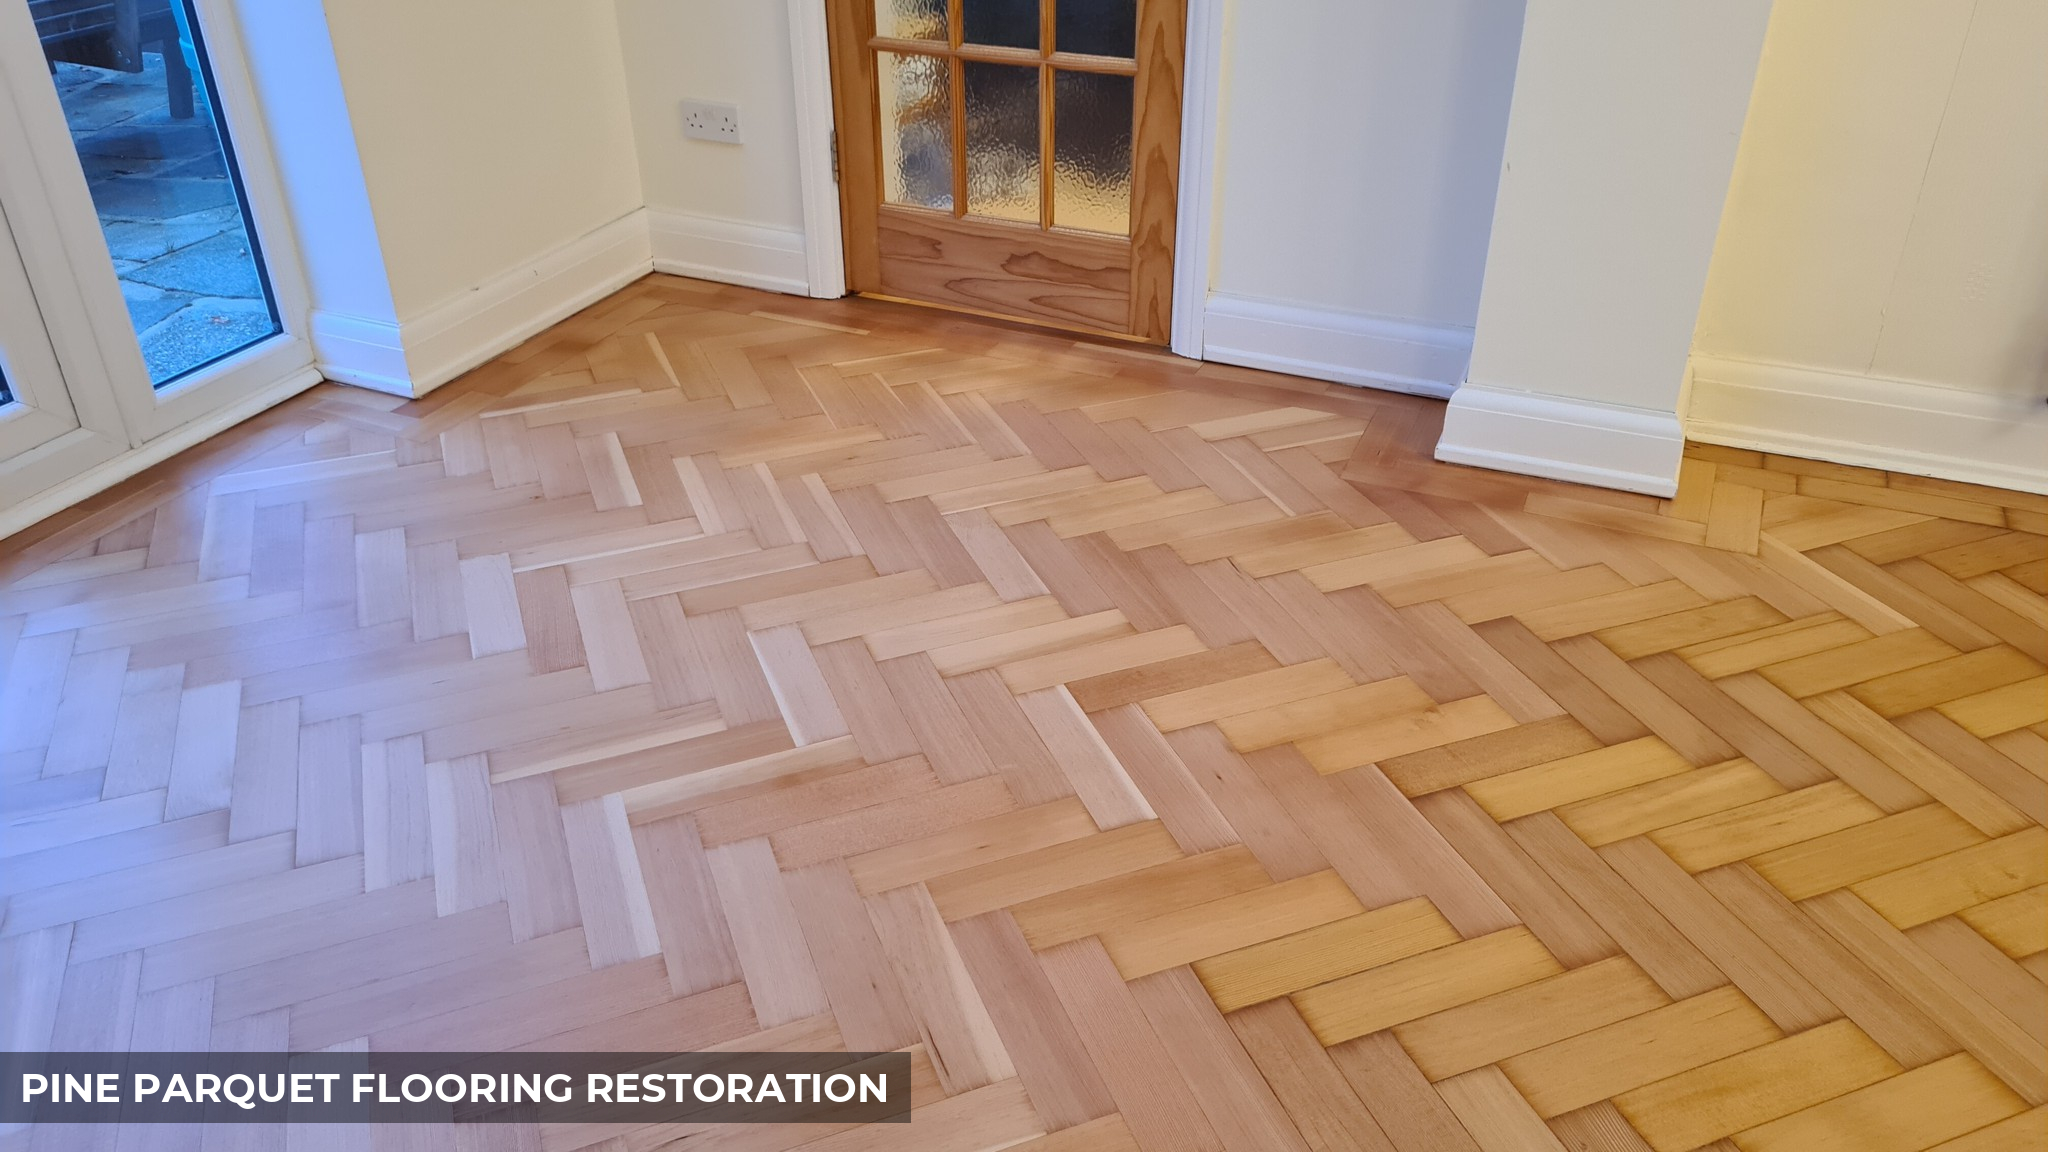
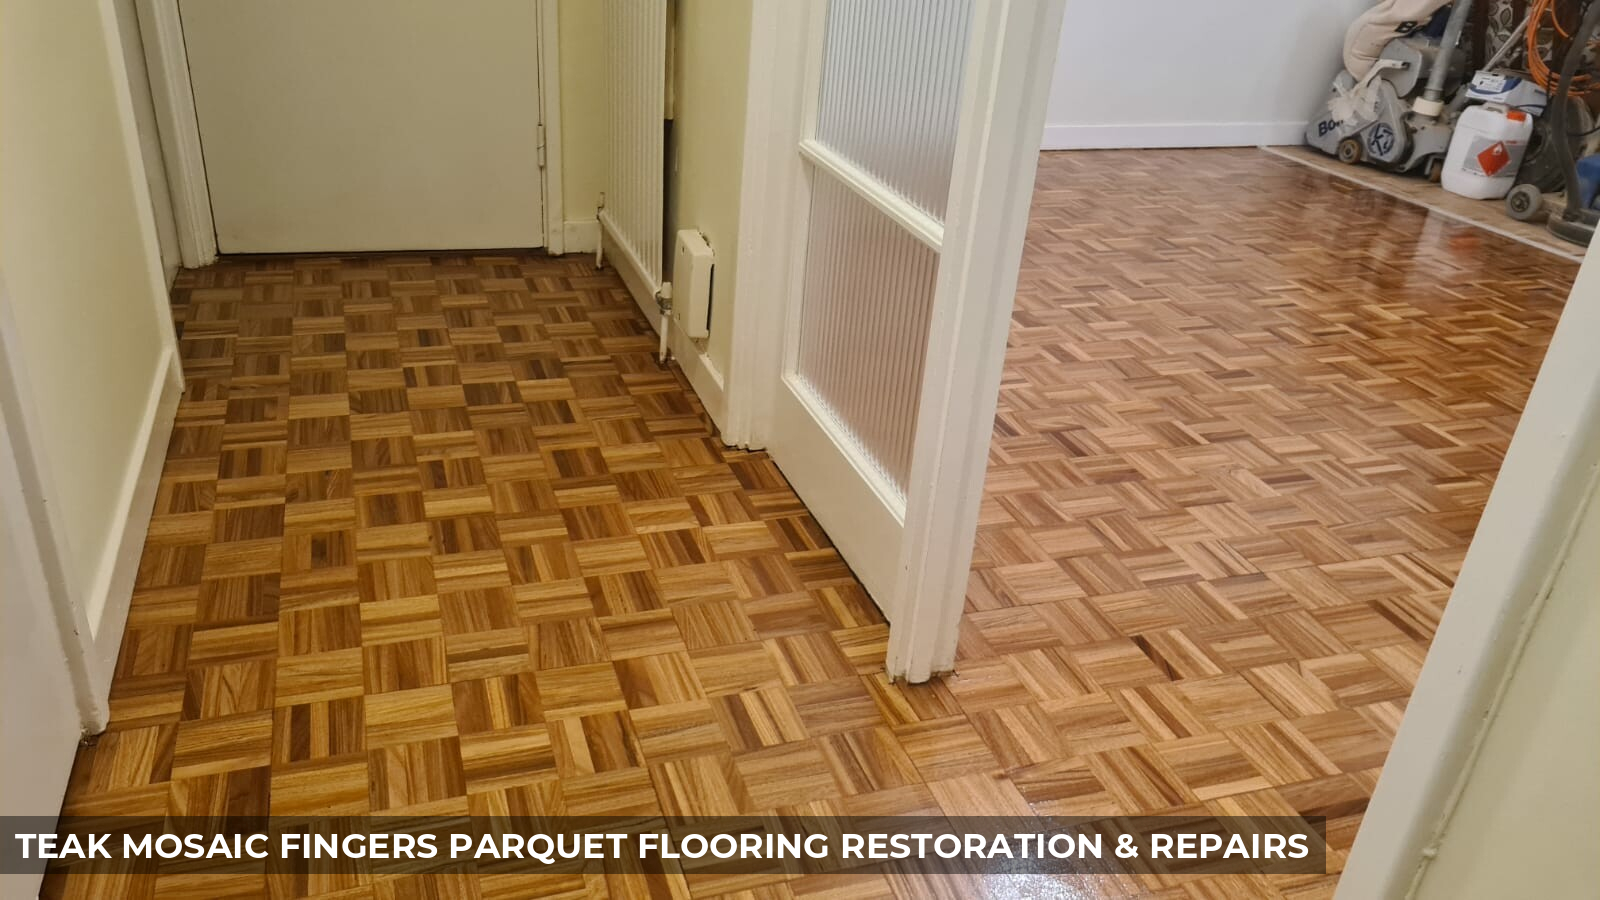
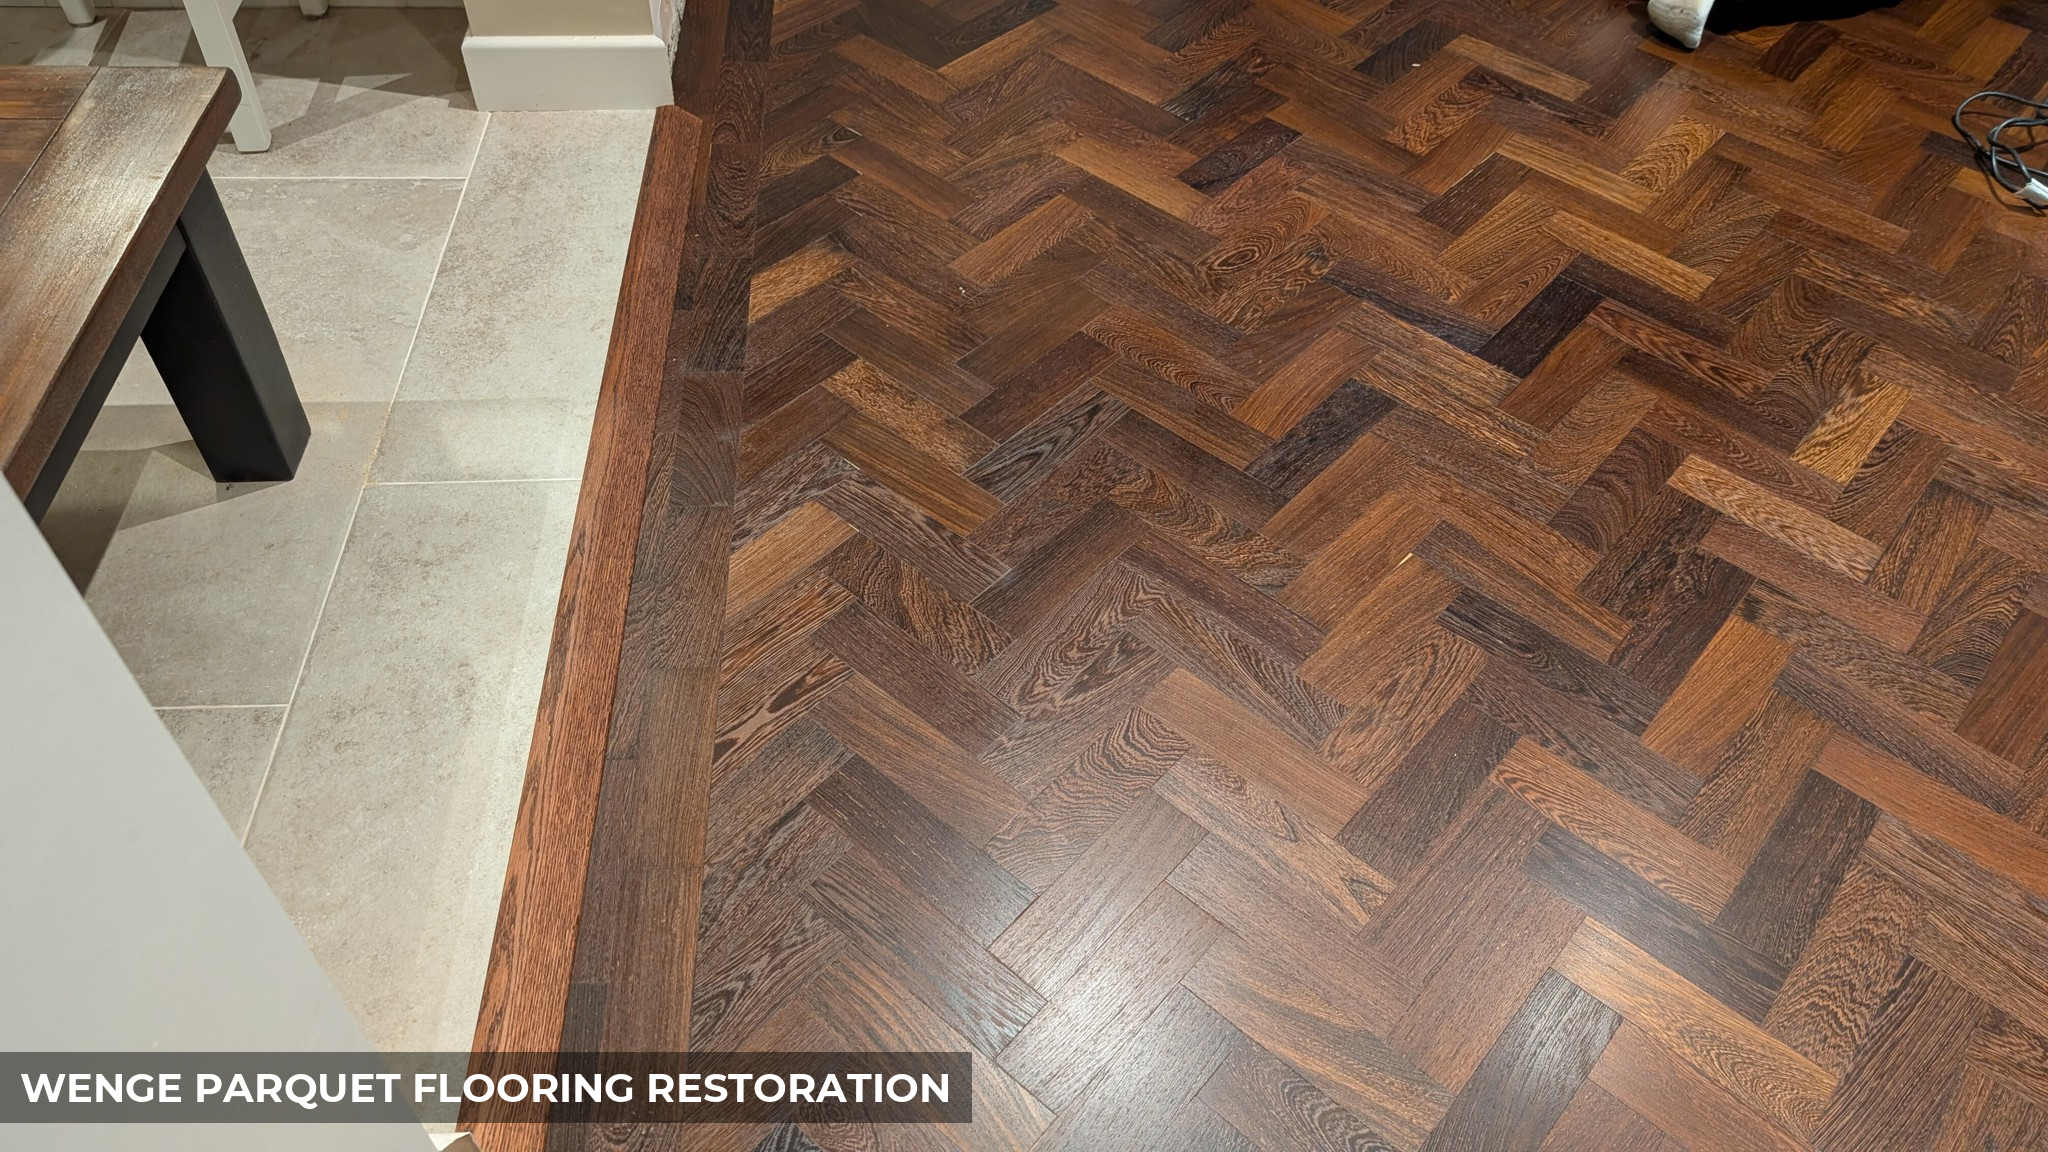
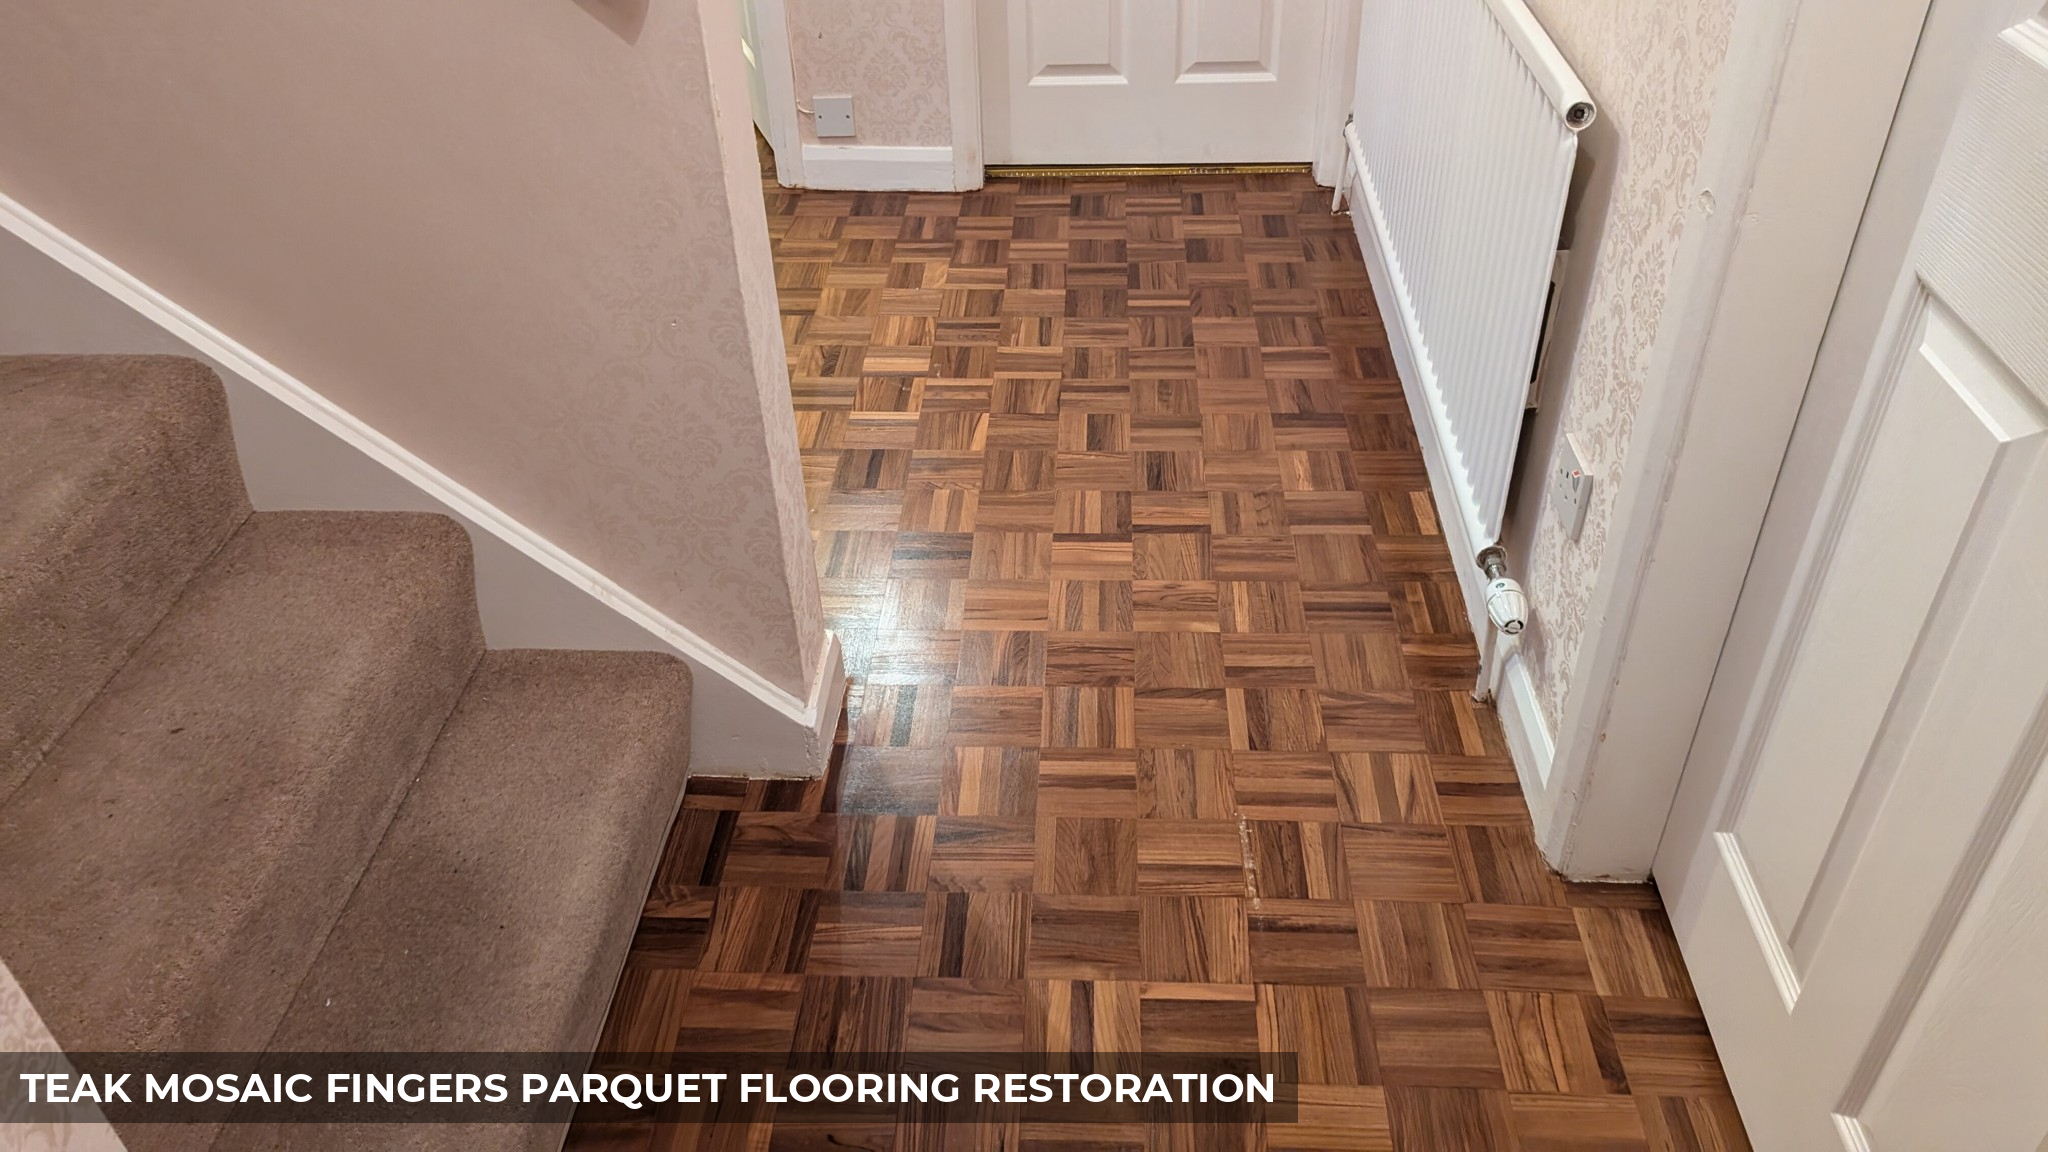
Parquet Flooring (Herringbone, Chevron, Finger Mosaics)
-
Characteristics
Blocks laid in multi-directional patterns where sliver insertion is structurally impractical.
-
Best Method
Resin & Wood Flour Slurry. As featured across our parquet floor restoration projects, loose blocks are lifted, cleared of failing bitumen, re-bonded with modern silane adhesives, and full-troweled with fine resin paste to lock the pattern together.
Solid Hardwood Planks (Oak, Walnut, Beech, Ash)
-
Characteristics
Dense timber planks that show minor, uniform seasonal movement across their joints.
-
Best Method
High-Solid Resin Pastes. As handled in our hardwood floor sanding services, high-solids binders fill micro-fissures cleanly without discolouring adjacent pores.
Engineered Hardwood Flooring
-
Characteristics
Multi-ply cross-laminated construction designed to limit expansion and contraction.
-
Best Method
Targeted Elastic Binders. When micro-gaps appear due to subfloor unevenness, flexible binders fill hairline joints while safeguarding the top wear layer.
Get in Touch With Us for a Free Professional Quote
The Benefits of Professional Gap Filling
Investing in professional gap filling delivers clear, day-to-day benefits for your home:
Eliminates Cold Drafts: Blocks outside air from rising through suspended ground floors, helping keep rooms warm and lowering heating bills.
Improves Hygiene: Prevents dead skin cells, pet hair, dirt, and dust mites from collecting in gaps where vacuums cannot reach.
Reduces Floor Squeaks: Solid timber slivers create side-to-side friction between boards, acting as wedges that spread foot traffic weight and reduce movement.
Creates a Seamless Look: Unifies individual boards into a single, cohesive floor plane that highlights the natural grain and figure of the timber.
Method Limitations: Setting Realistic Expectations
While professional gap filling resolves drafts and improves stability, timber remains an organic, dynamic material. It is helpful to keep a few practical considerations in mind:
Subfloor Movement: If underlying joists are loose, rotten, or springy, the up-and-down deflection of the floor will eventually loosen rigid fillers. Subfloor repairs and fastening must always come first.
Extreme Seasonal Humidity Shifts: In properties that swing from damp summers to high central heating in winter without a humidifier, hairline micro-fissuring can still occur along resin lines as boards shrink. Reclaimed slivers offer significantly higher resistance to these seasonal shifts than resin pastes.
Historic Bitumen Residue: On older parquet floors originally laid in black bitumen, solvent-based resin fillers can draw bitumen up into the wood joints if the subfloor is not properly isolated. Professional technicians inspect the adhesive foundation beforehand to prevent this discoloration.
Commercial & High-Footfall Applications
In retail stores, restaurants, offices, and schools managed under our commercial floor sanding services, unsealed floor gaps present maintenance and hygiene challenges.
Liquid spills seep into open joints, causing subfloor odors or rotting timber from the underside. Commercial gap filling seals these openings, allowing the floor to be easily maintained with industrial scrubber-dryers and ensuring compliance with commercial health and safety standards.
Contact Floorsanding™ for Professional Flooring Solutions
Arrange an On-Site Gap Filling Survey
Whether you want to eliminate drafts in a period home, quiet creaking boards, or prepare parquet for custom staining and finishing, professional gap filling preserves the beauty and comfort of your property.
Explore our completed residential and commercial work in our project gallery, read practical care tips in our restoration FAQ, or contact floorsanding.london today to book an on-site survey and tailored quotation.