Gap Filling Options & Techniques for Wooden Floors
Wooden Floor Gap Filling: Methods, Options and What Works Best
Gaps between wooden floorboards are common, particularly in older properties where timber has naturally expanded, contracted and moved over many years. While small gaps can be part of the character of an original wooden floor, larger or inconsistent gaps can affect its appearance and may allow draughts, dust and debris to pass between the boards.
Wooden floor gap filling is therefore an important part of many floor restoration projects.
When carried out correctly, gap filling can create a more uniform appearance, reduce draughts and prepare the floor for sanding and refinishing. However, there is no single filling method suitable for every wooden floor.
-
The appropriate technique depends on several factors, including:
The type of wooden flooring
The width and depth of the gaps
The amount of movement in the floor
The age and condition of the timber
Whether the gaps are consistent or irregular
The appearance you want to achieve
The way the floor has been constructed
At Floorsanding.london, the two principal methods used during wooden floor restoration are resin and sawdust filling and wood strip or sliver filling.
This guide explains how both methods work, their advantages and limitations, and how gap filling differs between parquet, hardwood flooring and original floorboards.
Why Do Gaps Appear in Wooden Floors?
Wood is a natural material that reacts to its surrounding environment.
Changes in temperature and humidity can cause timber to expand and contract. Over many years, repeated movement can result in visible gaps between individual boards or flooring blocks.
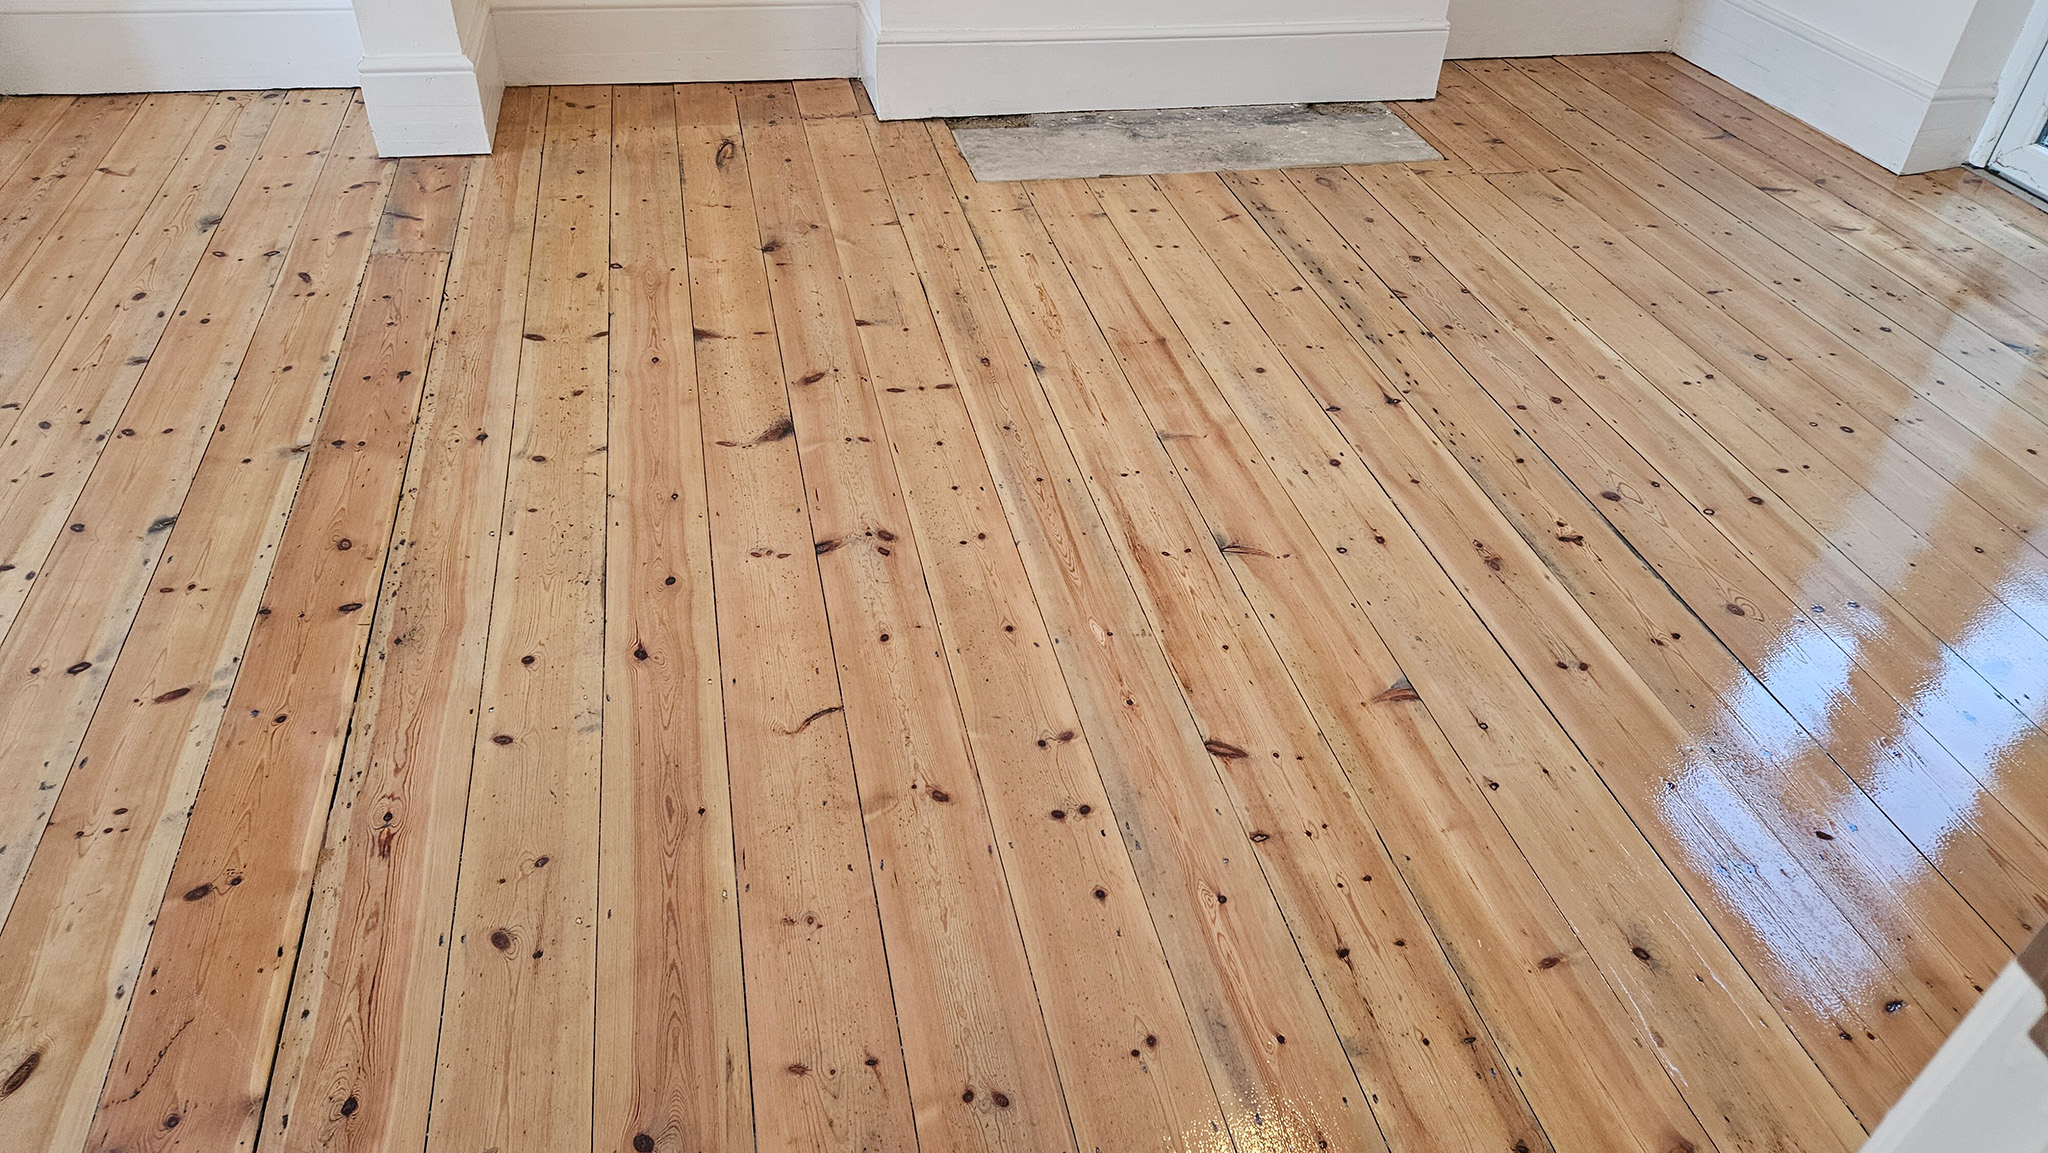
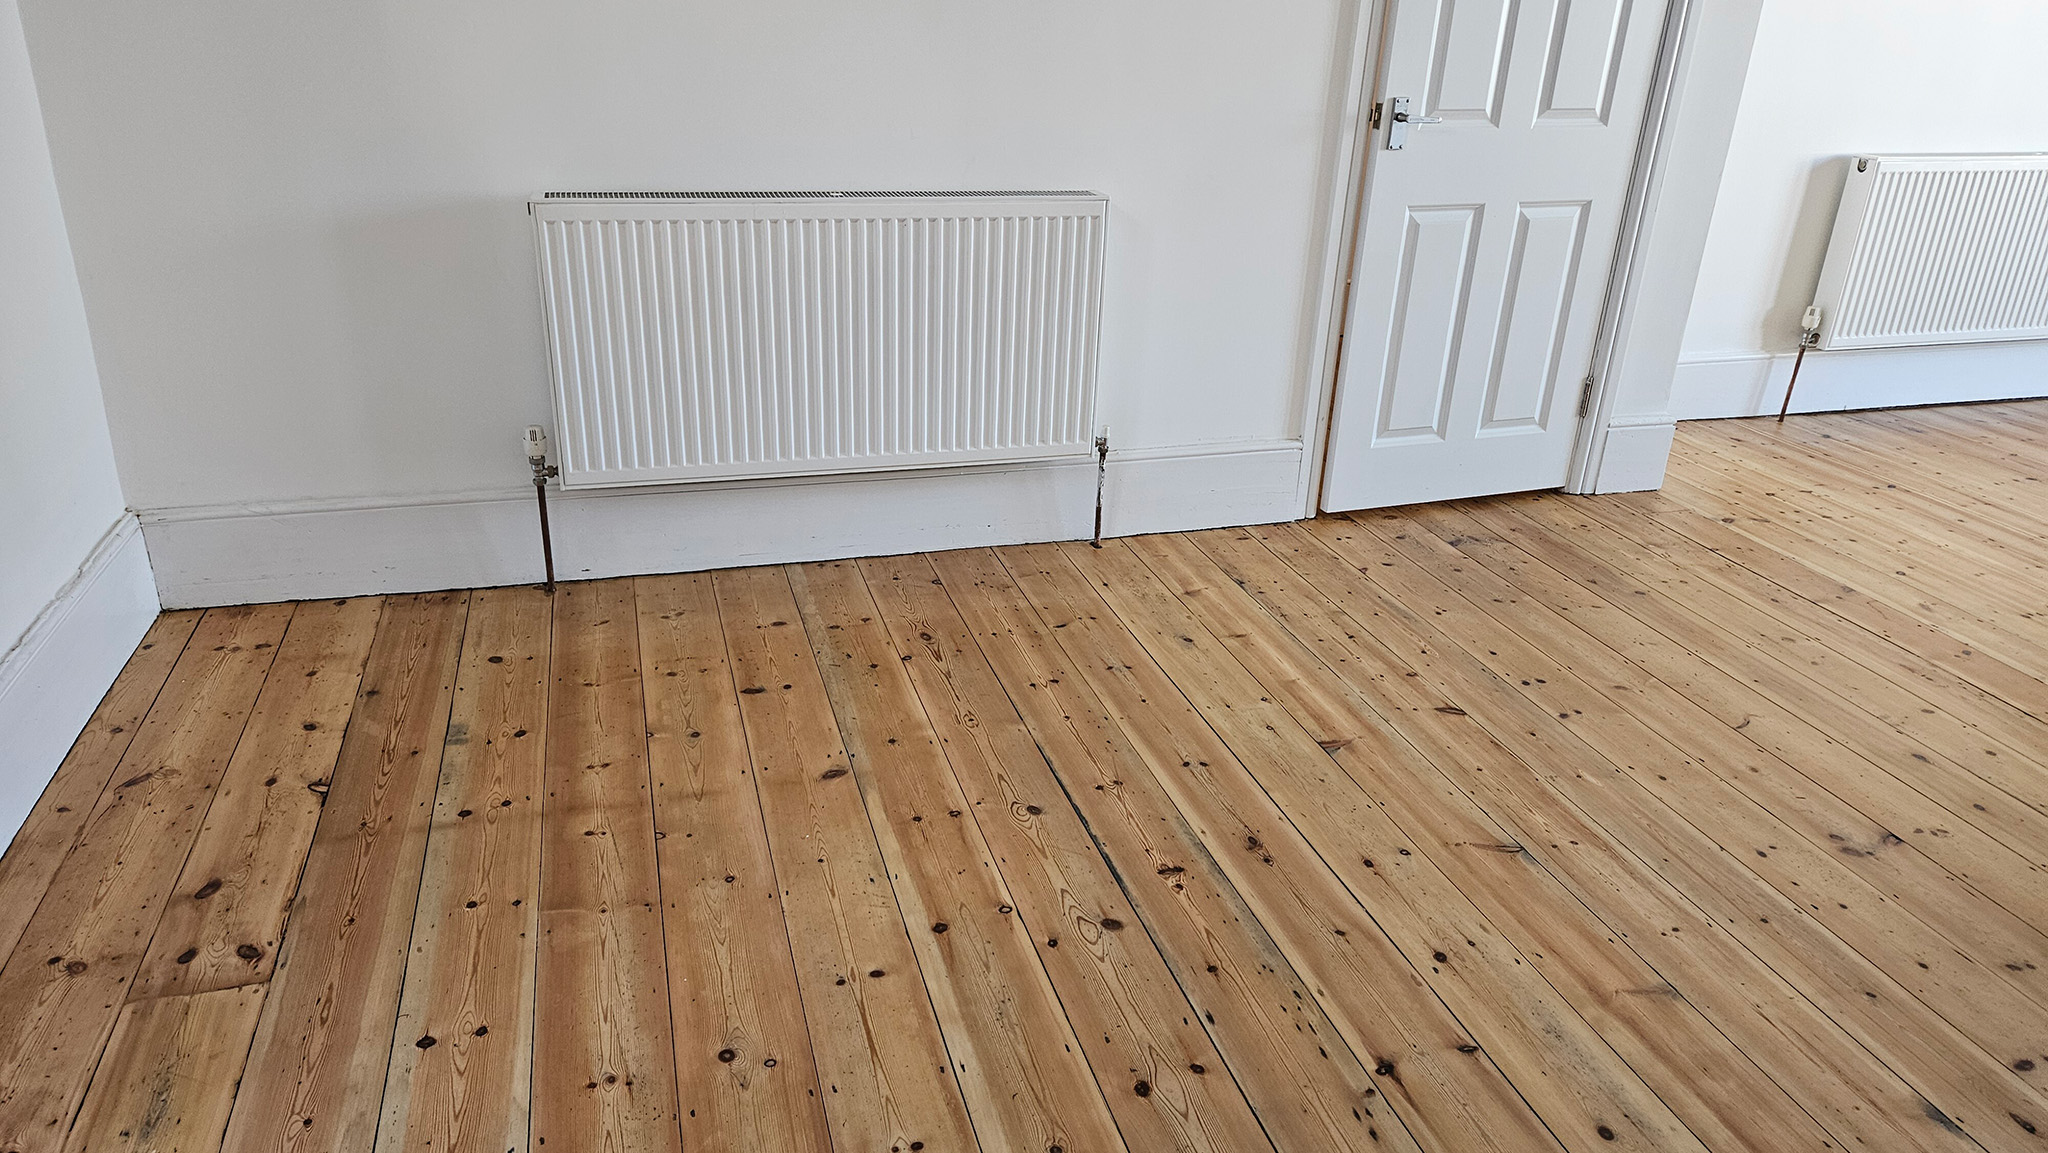
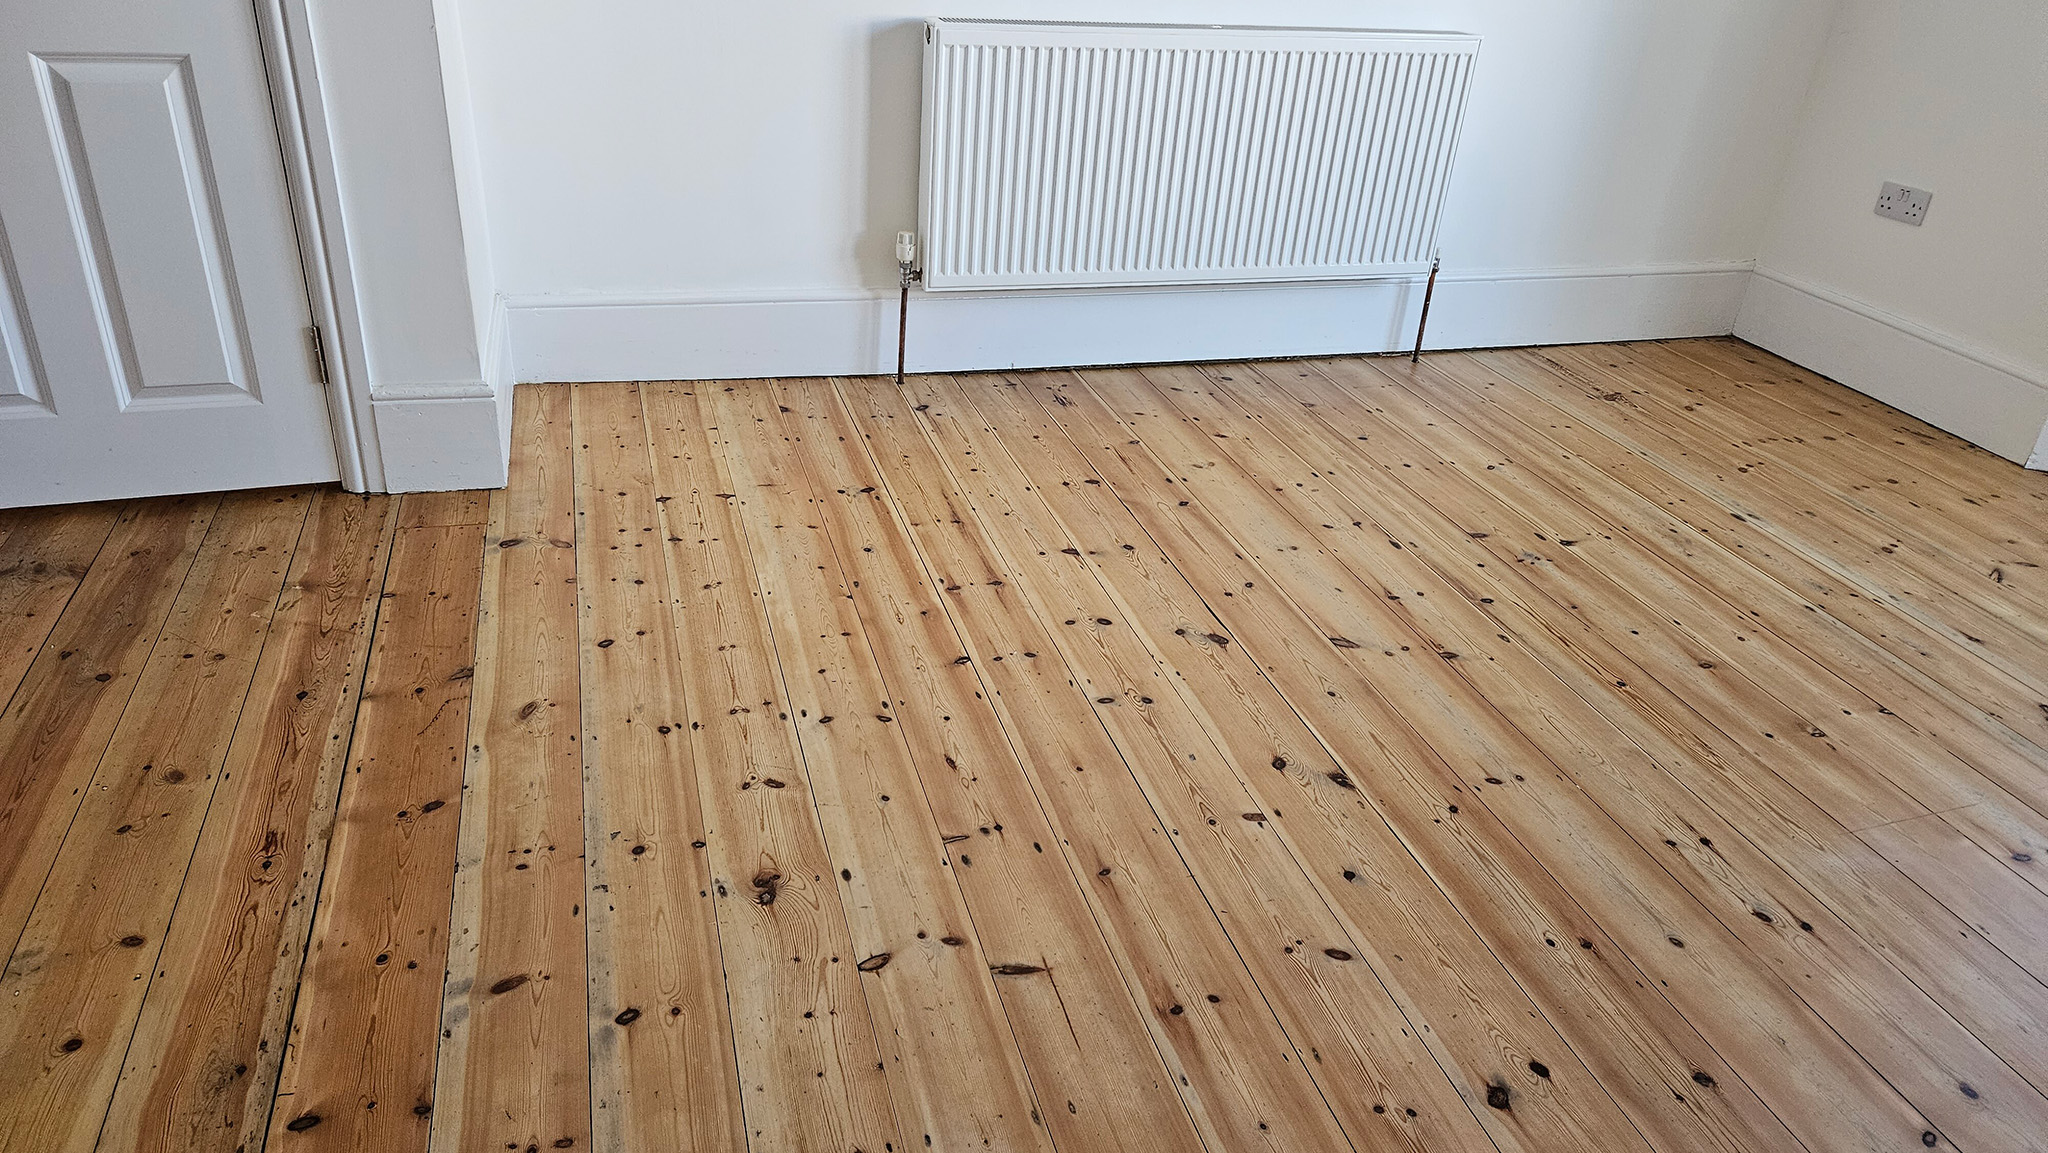
Older London properties can be particularly prone to this because their floors may have been in place for many decades.
-
Gaps can also develop because of:
Natural drying and shrinkage of timber
Seasonal changes in humidity
Movement within the floor structure
Age of the flooring
Loose floorboards
Previous repairs
Changes to heating within the property
Differences in moisture conditions
Installation-related issues
Some gaps remain relatively stable throughout the year, while others become wider or narrower depending on environmental conditions.
Understanding why the gaps exist is important before deciding how they should be filled.
Although gap filling can dramatically improve the appearance of a restored floor, filling every visible gap is not always appropriate. Wooden floors naturally move. If a gap is filled with a material that cannot accommodate the movement of the surrounding timber, the filler may eventually crack, loosen or come away. This is particularly important with traditional floorboards where seasonal movement may be more noticeable.
-
Before filling, the floor should therefore be assessed for:
Board movement
Loose or damaged sections
Gap width
Gap consistency
Moisture-related movement
Previous filling materials
Overall condition of the floor
Professional floor restoration is about choosing the right solution for the particular floor rather than automatically applying filler everywhere.
-
What Are the Benefits of Wooden Floor Gap Filling?
When appropriate for the floor, gap filling can provide several benefits.
Improved Appearance
One of the most noticeable benefits is visual improvement.
Dark gaps between freshly sanded boards can stand out considerably, particularly when the surrounding timber has been restored to a lighter natural colour.
Filling can produce a more uniform and finished appearance.
This can be particularly effective with parquet flooring, where numerous small gaps between individual blocks can otherwise interrupt the pattern.
Reduced Draughts
Traditional floorboards may have an unheated void beneath them.
Where significant gaps exist between boards, air can sometimes pass through the floor.
Appropriate gap filling may help reduce these draughts, although it should not be regarded as a substitute for proper insulation where significant thermal improvement is required.
Less Dust and Debris Between Boards
Open gaps naturally collect dirt, dust and small debris.
Once filled, there are fewer deep spaces where this material can accumulate, making routine floor cleaning easier.
A More Uniform Surface Before Finishing
Gap filling is normally carried out as part of the wider sanding and restoration process.
Once the filler has cured and the floor has been sanded again, the boards and filled areas can form a more consistent surface ready for the selected floor finish.
Main Wooden Floor Gap Filling Methods
-
There are several ways of dealing with gaps in timber flooring, but two methods are particularly relevant during professional floor sanding and restoration:
Resin and sawdust filling
Wood strip or sliver filling
The right choice depends primarily on the type of floor, size of the gaps and amount of movement present.
Resin and Sawdust Gap Filling
Resin and sawdust filling is one of the most widely used methods for filling relatively small gaps in wooden floors.
The process uses fine wood dust collected during sanding and mixes it with a specialist resin-based floor filler to create a workable filling compound.
Because the wood dust comes from the floor itself, the resulting filler can blend more naturally with the surrounding timber than many generic pre-mixed fillers.
How Does Resin and Sawdust Filling Work?
During the floor sanding process, suitable fine sanding dust is collected.
This dust is then mixed with a specialist resin filler until an appropriate consistency is achieved.
The mixture is spread across the floor and worked into the gaps using a filling knife, spatula or floor-filling trowel.
Once the filler has dried sufficiently, the floor is sanded again to remove excess material and produce a smooth surface.
The floor can then proceed through the remaining sanding and finishing stages.
What Gap Size Can Resin Filling Be Used For?
Resin and sawdust filling is generally most appropriate for small and relatively consistent gaps.
As a practical guideline, it is commonly used for gaps of approximately up to 5–6 mm, depending on the floor construction, depth of the gaps and stability of the surrounding timber.
Gap width alone should not determine the method.
A narrow gap in a floor that moves significantly may be less suitable for rigid filling than a similar gap in a stable parquet floor.
Professional assessment is therefore important.
Advantages of Resin and Sawdust Filling
-
Good Colour Compatibility
Because sanding dust from the existing floor can be incorporated into the mixture, the filler can complement the surrounding timber. However, filled areas should not necessarily be expected to become completely invisible. Filler and natural wood can absorb finishing products differently.
-
Smooth Appearance
Once properly applied, dried and sanded, resin filling can create a smooth transition between flooring sections.
This makes it particularly effective when restoring parquet and other floors containing numerous small joints.
-
Efficient Application
For floors containing many small gaps, resin filling can often be applied across a relatively large area rather than treating every individual gap separately.
-
Works Well With Professional Floor Sanding
The method integrates naturally into a professional restoration process because suitable wood dust is produced during sanding.
After filling, subsequent sanding removes excess filler and prepares the floor for finishing.
Limitations of Resin and Sawdust Filling
Resin filling is not suitable for every situation.
-
Large Gaps
Very wide or deep gaps may not provide enough support for resin filler. The material may sink into the void beneath traditional floorboards or fail to remain stable.
-
Significant Floor Movement
If floorboards move substantially when walked on or expand and contract considerably throughout the year, rigid filler may crack or loosen. Loose boards should therefore be investigated before filling.
-
Colour Differences Can Still Occur
Using dust from the existing floor can help create a complementary colour, but the filled joint will not necessarily look exactly like natural timber.
The final appearance can also change after oil, lacquer or stain is applied.
Existing Structural Problems Need Attention First
Gap filler should not be used to disguise problems such as unstable boards or significant movement.
Where repairs are required, these should normally be addressed before the filling and final sanding stages.
Wood Strip or Sliver Gap Filling
For larger gaps—particularly between traditional floorboards—a different approach may be required.
Wood strip filling, also known as wood sliver filling, involves inserting narrow pieces of timber into the gaps rather than filling the entire space with a resin mixture.
This can provide a more substantial solution where gaps are too wide for resin filling alone.
How Does Wood Sliver Filling Work?
Thin strips or slivers of timber are prepared to suit the gaps between the floorboards.
An appropriate adhesive is applied, and the timber strips are carefully inserted into the gaps.
Once the adhesive has cured, the sections protruding above the floor are trimmed and sanded flush with the surrounding boards.
The entire floor can then continue through the sanding and finishing process.
When Is Wood Strip Filling Appropriate?
Wood slivers are commonly considered when gaps between traditional floorboards are too large for conventional resin filling.
As a broad guideline, this may include gaps greater than approximately 5–6 mm, although the condition of the floor and shape of the gaps are equally important.
The method can be particularly effective with older pine and softwood floorboards.
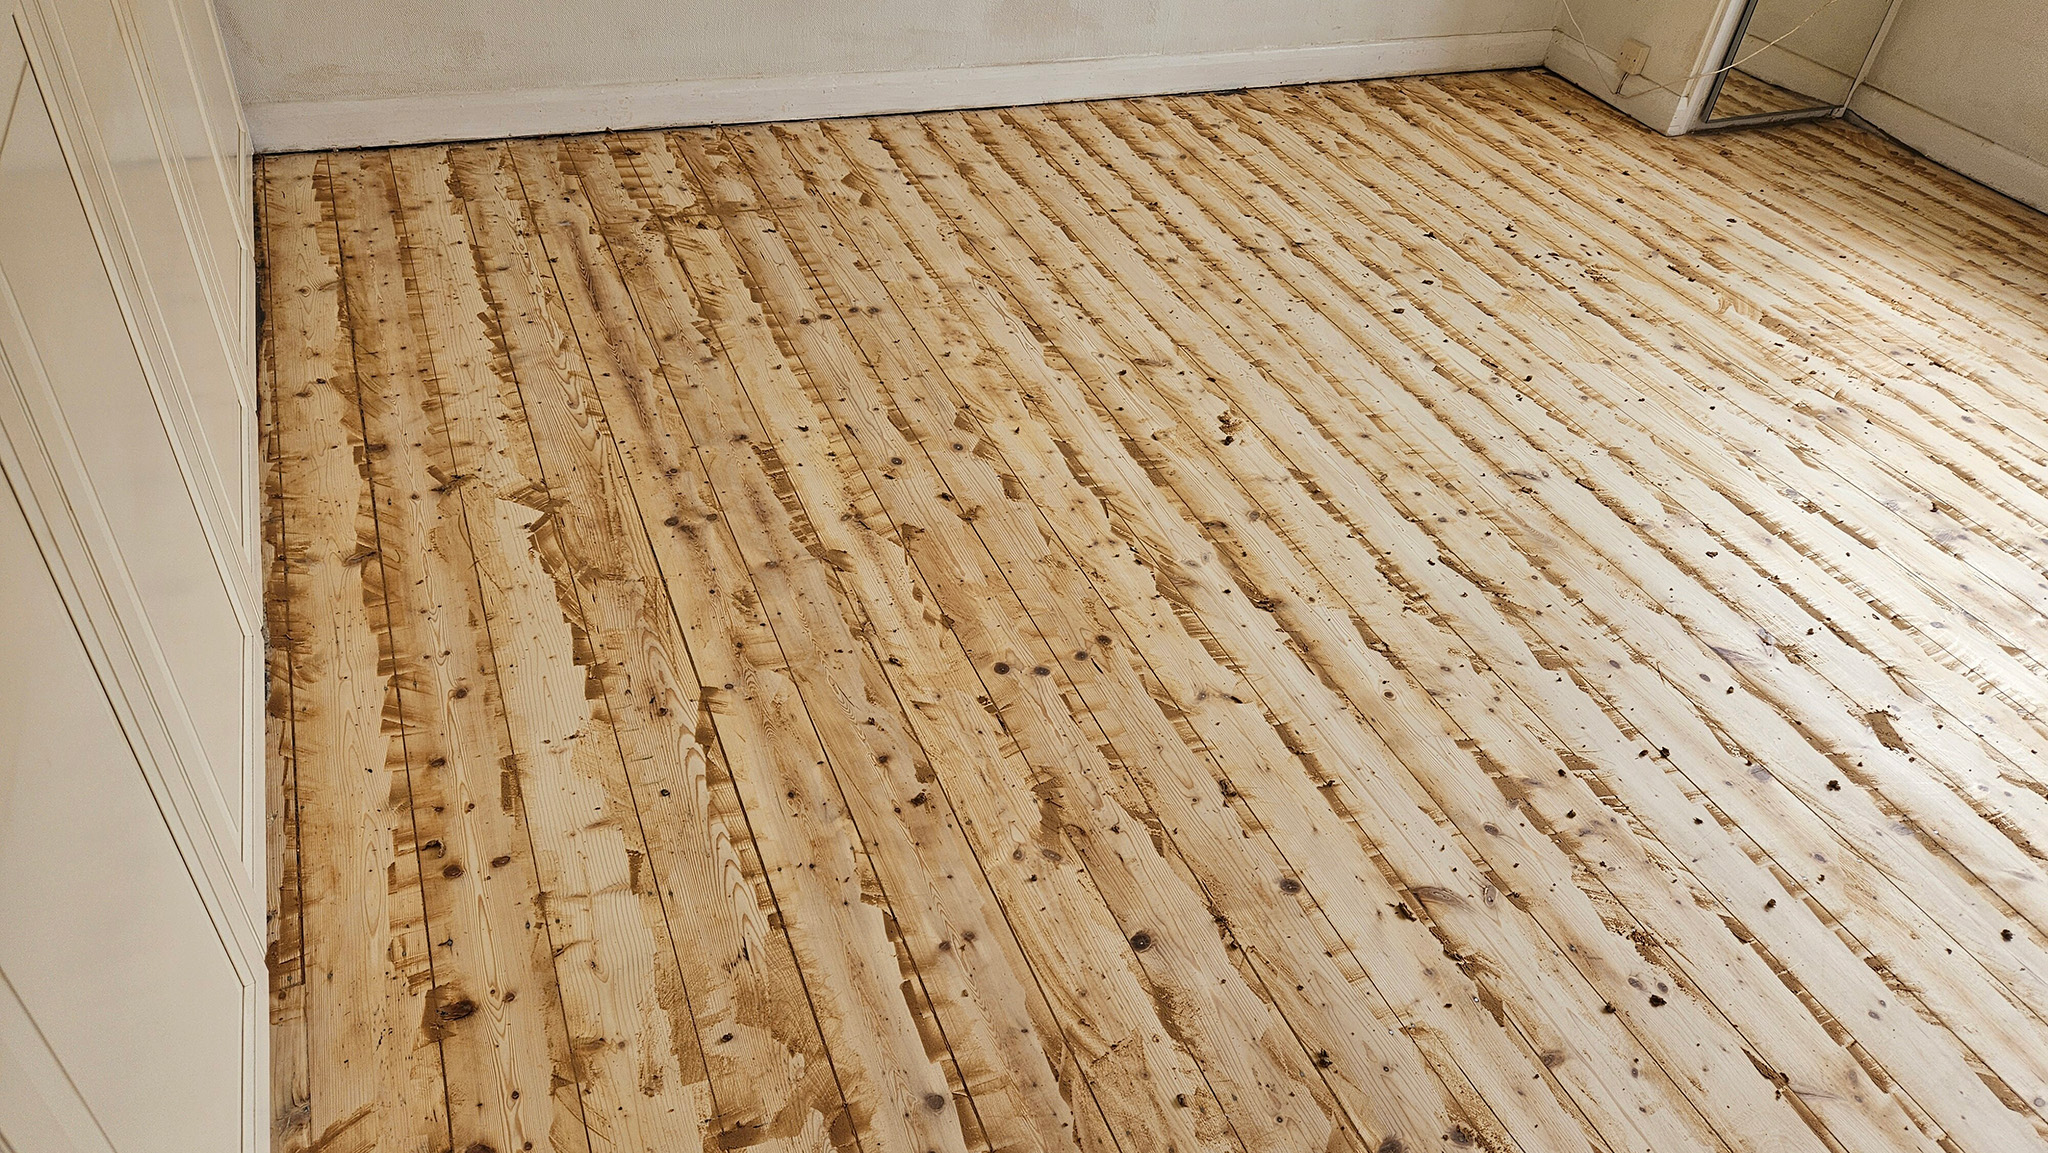
Advantages of Wood Strip Filling:
Better for Wider Gaps
The principal advantage is that solid timber provides greater substance than a liquid or paste filler in larger gaps.
Reduced Risk of Filler Falling Through
Traditional floorboards may have an open void underneath them.
A liquid-based filling mixture can disappear into particularly wide or deep gaps. Properly fitted timber slivers physically bridge the gap instead.
Natural Timber Appearance
Because the filler itself is timber, wooden strips can integrate naturally into an old floor after sanding and finishing.
The colour and grain may not match every original board exactly, but the result can often complement the character of the existing floor.
Suitable for Traditional Floorboard Restoration
Wood slivers can be particularly useful when restoring older floorboards where larger gaps have developed over decades of drying and movement.
Limitations of Wood Strip Filling
More Labour Intensive
Each gap needs to be assessed and filled individually.
Preparing, fitting, gluing, trimming and sanding wooden strips takes considerably more time than spreading resin filler across a floor.
Not Suitable for Every Gap
Irregular gaps can make fitting strips difficult.
The method should also be considered carefully where there is substantial ongoing movement between boards.
The Appearance of the Floor Changes
Some homeowners like the visible separation between traditional boards because it forms part of the character of an old floor.
Completely filling every gap can create a more uniform appearance.
Whether this is desirable depends partly on personal preference and the character of the property.
Resin Filling vs Wood Sliver Filling
| Factor | Resin & Sawdust Filling | Wood Sliver Filling |
|---|---|---|
| Best suited to | Smaller gaps | Larger gaps |
| Typical application | Up to approximately 5–6 mm* | Often considered above approximately 5–6 mm* |
| Common floor types | Parquet and hardwood floors | Traditional floorboards |
| Material | Resin mixed with sanding dust | Solid timber strips |
| Application speed | Generally faster | More labour intensive |
| Large open gaps | Less suitable | More suitable |
| Appearance | Blends with surrounding floor | Natural timber insert |
| Floor movement | Can crack if movement is significant | Also requires assessment of movement |
*Gap measurements are general guidelines rather than absolute rules. Floor construction, stability, depth and movement should also be considered.
-
Gap Filling Parquet Flooring
Gap filling is particularly useful during parquet floor restoration.
Parquet floors consist of numerous individual wooden blocks arranged in patterns such as herringbone. Over time, small gaps may develop between these blocks.
When the floor is sanded, these dark lines can become more noticeable against the freshly exposed timber.
Resin and sawdust filling is generally well suited to parquet because the gaps tend to be relatively small.
The filler can be worked across the floor and into the joints between blocks before being allowed to dry and sanded smooth.
This can produce a much more uniform appearance before the protective finish is applied.
Loose Parquet Blocks Need Separate Attention
Gap filling should not be confused with repairing loose parquet.
If blocks are loose or poorly bonded to the subfloor, simply applying filler between them will not solve the underlying problem.
Loose sections should be assessed and repaired or secured appropriately before final filling, sanding and finishing.
-
Gap Filling Hardwood Flooring
Gap filling for hardwood flooring depends heavily on the construction of the floor and the size of the gaps.
Small, stable gaps may be suitable for resin and sawdust filling.
Larger gaps may require a different approach, although wooden strips are not automatically appropriate for every hardwood floor.
The expected movement of the flooring must also be considered.
Because natural timber responds to changes in humidity, some hardwood floors are designed to accommodate a degree of seasonal expansion and contraction.
Attempting to rigidly fill every joint without understanding the floor construction can create problems later.
For this reason, the floor should be assessed before deciding on the filling method.
-
Gap Filling Original Floorboards
Original floorboards are common in many older London properties. Over decades, these boards may shrink and develop substantial gaps. Some floors have narrow, relatively consistent gaps. Others contain large and irregular spaces resulting from age, previous alterations, repairs or replacement boards. This means original floorboards often require a more individual approach than parquet flooring.
Smaller Floorboard Gaps
Where gaps are relatively narrow and the boards are stable, resin and sawdust filler may be suitable.
The floor still needs to be assessed for movement because excessive flexing can cause rigid filler to crack.
Larger Floorboard Gaps
Where gaps are wider, timber slivers can provide a more substantial solution.
The strips are inserted between the boards, bonded in place and then sanded flush with the floor.
After sanding and finishing, the strips become part of the overall appearance of the restored floor.
Irregular Gaps
Older floors rarely have perfectly uniform spacing.
One part of a room may require resin filling while another contains gaps better suited to wooden slivers.
Professional restoration can therefore involve combining different gap filling techniques within the same floor rather than applying one method indiscriminately.
-
The Professional Gap Filling Process
The exact procedure depends on the floor and chosen filling method, but a typical restoration can involve the following stages.
-
1. Floor Inspection
Before filling begins, the floor is inspected.
This helps identify:
Loose boards
Damaged timber
Previous repairs
Protruding fixings
Excessive movement
Different gap sizes
Sections requiring replacement or repair
This stage helps determine whether filling is appropriate and which method should be used.
-
2. Initial Sanding
The floor is sanded to remove the existing surface coating and expose clean timber.
For resin filling, suitable fine sanding dust can be retained for use in the filler mixture.
-
3. Cleaning the Gaps
Loose dirt and debris need to be removed so that the filling material can properly occupy the gaps.
Old loose filler may also need to be removed.
-
4. Filling
For resin filling, suitable sanding dust is mixed with the filler product and worked into the gaps.
For sliver filling, prepared timber strips are bonded into suitable gaps.
-
5. Drying or Curing
The filling material or adhesive must be given sufficient time to cure before sanding continues.
Drying times vary according to the specific product, environmental conditions and application, so the manufacturer's instructions should always be followed rather than relying on a universal drying time.
-
6. Sanding the Filled Floor
Once the filled areas are ready, the floor is sanded again.
This removes excess filler or protruding timber and helps create an even surface across the restored floor.
-
7. Final Preparation
Further sanding stages may be required to refine the surface.
The floor is then thoroughly cleaned in preparation for finishing.
-
8. Applying the Floor Finish
The restored floor can then receive the selected protective finish.
Depending on the flooring and desired appearance, this may include an appropriate floor oil, lacquer or other professional finishing system.
Can Floorboard Gaps Be Filled Without Sanding?
Individual gaps can sometimes be repaired without sanding the entire floor, but this does not necessarily provide the best visual result.
New filler applied to an already finished floor can stand out because the surrounding timber has aged, changed colour or accumulated an existing finish.
When gap filling forms part of a complete floor sanding and restoration project, the filled sections and surrounding timber can be sanded together before the new finish is applied.
This generally provides a more consistent overall appearance.
Does Gap Filling Stop Draughts?
Gap filling can help reduce air passing directly through spaces between traditional floorboards.
However, it is important to distinguish gap filling from floor insulation.
Filling visible gaps may improve comfort, but properties experiencing significant heat loss through suspended timber floors may require a dedicated insulation solution.
Gap filling should therefore be viewed primarily as part of floor restoration rather than a complete replacement for thermal insulation.
Will Wooden Floor Filler Crack?
It can.
Wood naturally moves as environmental conditions change.
If the surrounding boards move substantially while the filler remains comparatively rigid, cracking or separation may eventually occur.
This is why the condition and stability of the floor need to be considered before filling.
The objective should not simply be to fill every visible line. The objective is to choose a restoration method compatible with the existing floor.
Can Large Gaps Between Floorboards Be Filled?
In many cases, yes.
For wider gaps in traditional floorboards, wooden slivers may be more appropriate than resin filler.
However, unusually large gaps can indicate significant timber shrinkage, alterations to the floor or other underlying issues.
The floor should therefore be inspected before deciding on a repair method.
Which Gap Filling Method Is Best?
There is no universal solution.
-
Resin and sawdust filling
Resin and sawdust filling is particularly effective for smaller, relatively stable gaps and is widely used during parquet and wooden floor restoration.
-
Wood sliver filling
Wood sliver filling can provide a more substantial solution for wider gaps between traditional floorboards.
Some floors benefit from a combination of the two techniques.
Other floors may be better left partially unfilled if significant natural movement is expected.
The correct decision depends on the floor itself.
Wooden Floor Gap Filling in London
Gap filling can make a significant difference to the appearance of a professionally restored wooden floor.
It can reduce distracting dark lines between boards, limit the collection of dirt and debris and, in traditional floorboards, may help reduce draughts through larger openings.
However, successful gap filling requires more than choosing a filler and applying it between the boards.
The floor type, gap size, timber condition and amount of movement all need to be considered before deciding how the gaps should be treated.
Contact Us for Professional Flooring Solutions

At Floorsanding.london, we provide professional gap filling as part of our floor restoration services, using resin filling or timber slivers depending on the type and condition of your floor.
Whether you have parquet flooring, hardwood flooring or original floorboards, assessing the existing floor first allows the restoration method to be selected according to its actual condition rather than applying the same solution to every property.
If your wooden floors have visible gaps and you are unsure whether they should be filled, contact us to arrange an assessment and discuss the most appropriate floor restoration options for your London property.


